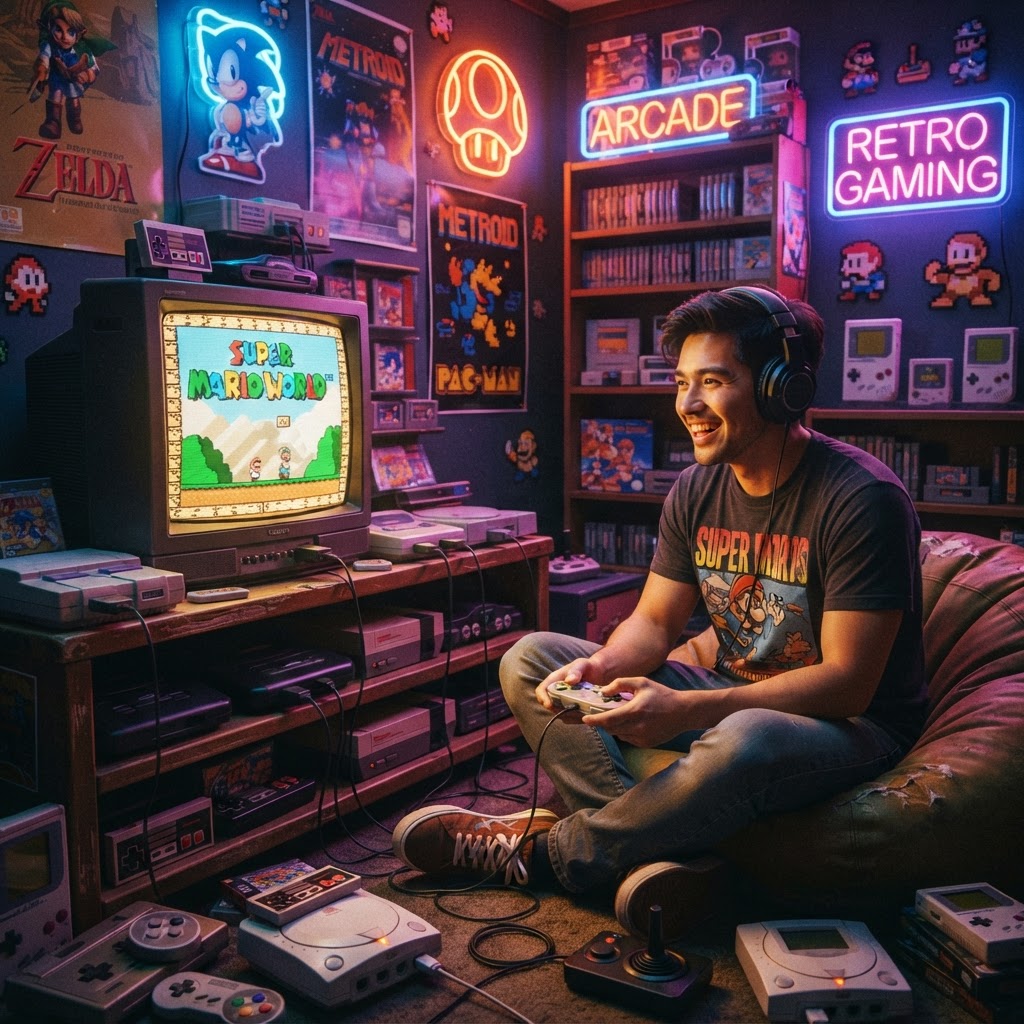
Why a $200 Budget Is the Sweet Spot for Retro Gaming
You don't need to spend thousands to relive the golden age of gaming. A well-planned retro setup under $200 can give you access to hundreds of classic titles across multiple platforms. The real challenge isn't the budget — it's avoiding the rookie mistakes that leave your setup looking janky, performing poorly, or gathering dust after two weeks.
This guide isn't just a shopping list. It's a troubleshooting-first approach: we identify the most common problems budget retro gamers face and give you practical, tested solutions before you waste a single dollar.
The Core Budget Breakdown (Under $200)
Here's a realistic allocation for a complete setup:
| Component | Estimated Cost | |---|---| | Retro console (used SNES, N64, PS1, or clone) | $40–$80 | | CRT or budget HDMI-compatible display | $0–$40 (thrift) | | Controllers | $10–$25 | | Cables & adapters | $5–$20 | | Setup accessories & organization | $15–$30 |
That leaves breathing room for games, which is where most of your real money will go over time.
Problem #1: Your Console Doesn't Output a Clean Signal
This is the number-one complaint from retro gamers using budget setups. You plug in your SNES or PS1, and the picture is washed out, flickering, or simply not displaying on a modern TV.
Practical Fixes
- Use the right cable. Composite cables (yellow/red/white) are the most common — but on modern TVs they often look terrible. Look for S-Video or RGB SCART adapters for much cleaner output on supported consoles.
- Try a budget upscaler. Devices like the RetroTINK 2X (around $30–$50 used) convert analog signals to clean 480p HDMI. This single purchase solves 80% of display headaches.
- Clean the cartridge slots. Dirty contacts cause graphical glitches and boot failures. A Retro Console Restoration Tool Kit gives you the right tools — including isopropyl cleaning swabs, precision screwdrivers, and contact cleaners — to bring almost any console back to life without guessing.
Problem #2: Controllers Are Stiff, Unresponsive, or Just Wrong
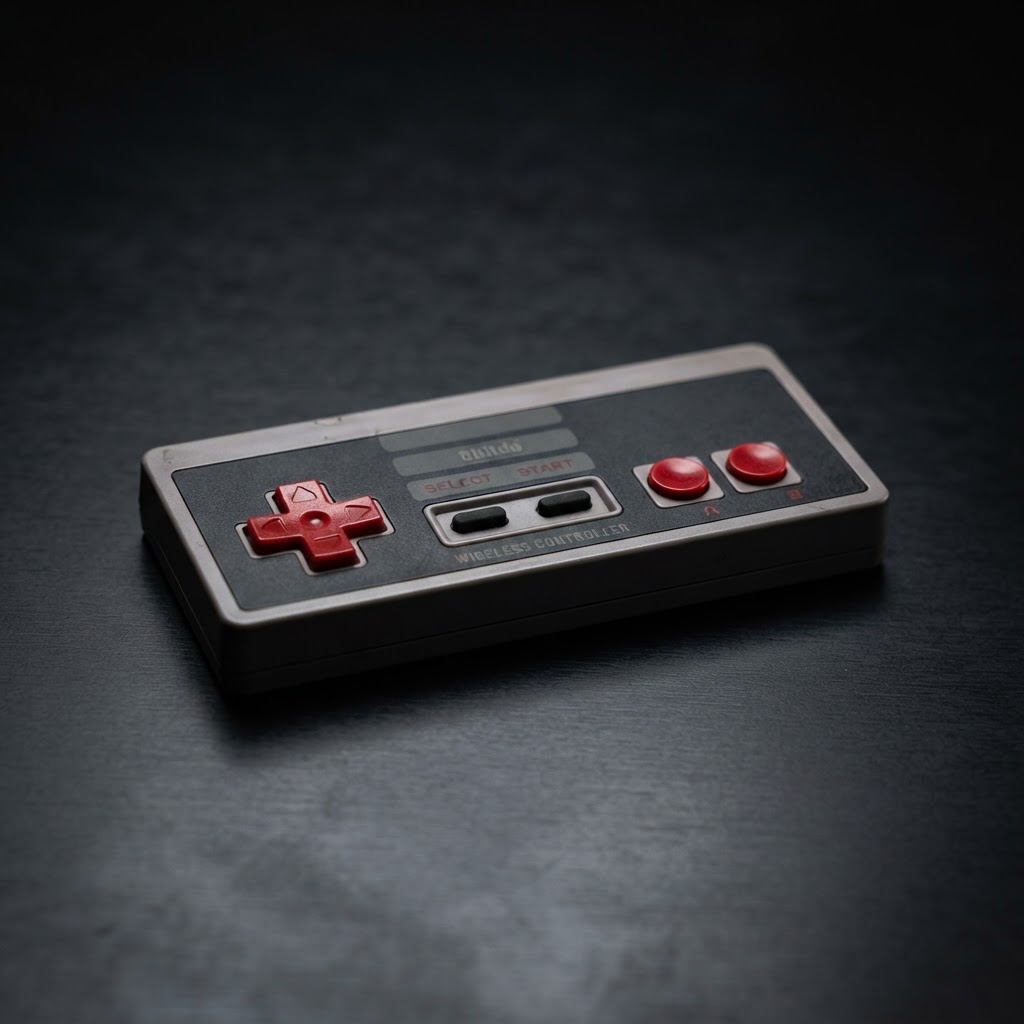
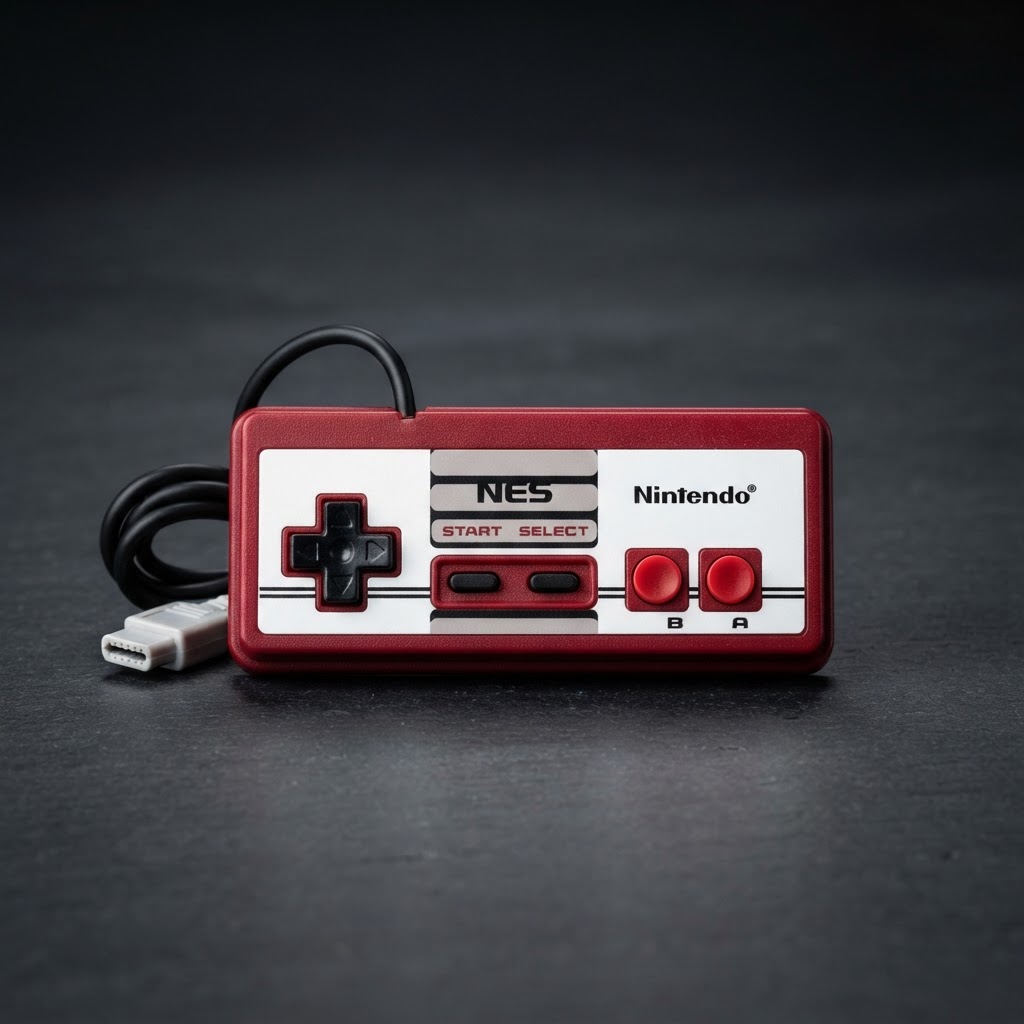
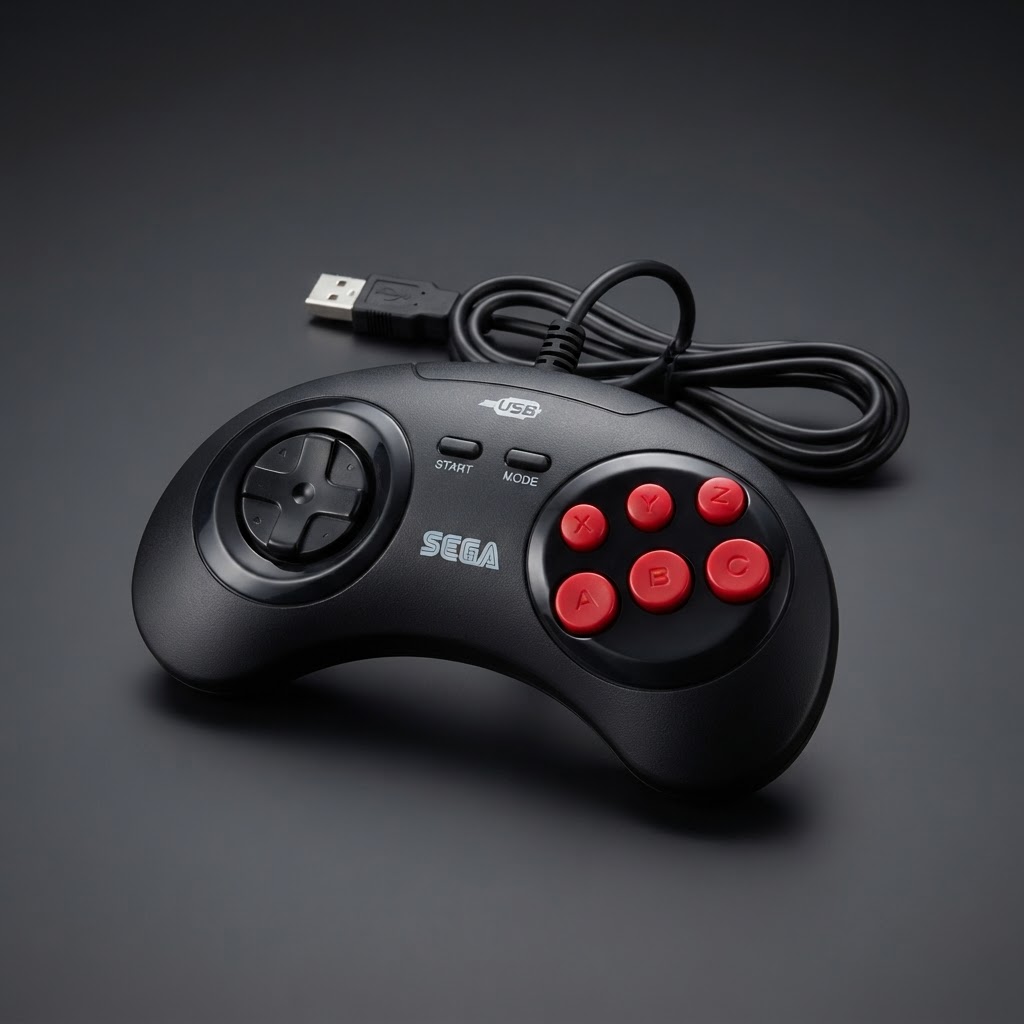
Original controllers are great, but heavily used ones often have stick drift, sticky buttons, or broken D-pads. Replacements from sketchy manufacturers feel worse than using a potato.
Practical Fixes
- Clean before replacing. Most sticky buttons just need disassembly and a wipe-down with isopropyl alcohol. Your restoration kit handles this.
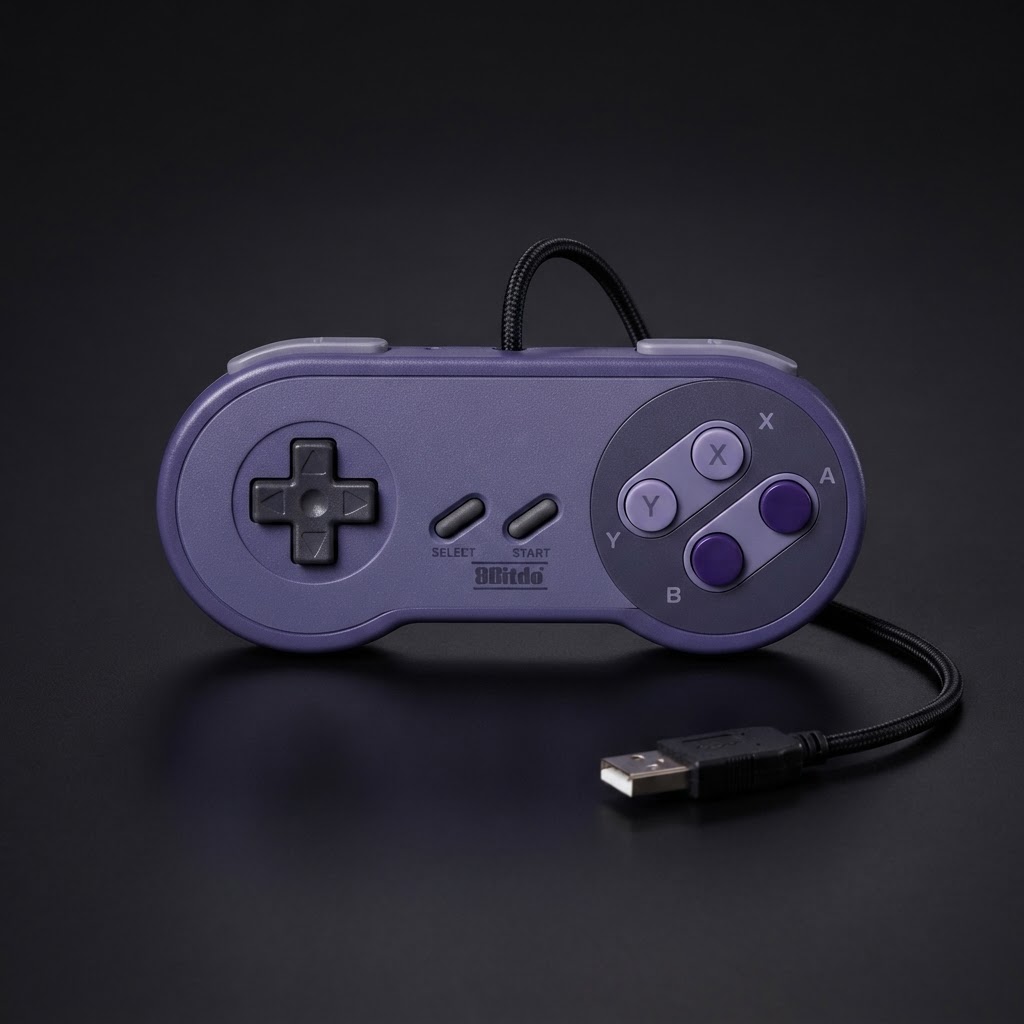
- Go USB for PC emulation. If part of your setup involves a PC or Raspberry Pi, skip hunting for expensive original controllers. A Classic SNES-Style USB Controller delivers authentic D-pad feel, correct button layout, and broad compatibility with emulators like RetroArch and OpenEmu — all for under $15. These are one of the best value-for-money purchases in the entire retro gaming hobby.
- Test controllers before buying used. When sourcing from thrift stores or flea markets, always test before paying. Joystick drift on an N64 controller, for example, is almost impossible to fix cheaply.
Problem #3: Cable Chaos Kills the Vibe (and Causes Problems)
A tangled mess of composite cables, power adapters, and HDMI cords isn't just ugly — it causes real issues. Cables get pinched, connections become intermittent, and you waste five minutes every gaming session untangling.
Practical Fixes
- Label every cable immediately. Use masking tape and a marker. Future you will thank present you.
- Use a dedicated organizer. A Cable Organizer Box keeps all your adapters, spare cables, and power bricks in one tidy location. This also protects delicate connectors from bending or breaking — a surprisingly common cause of "mysteriously dead" setups.
- Route cables behind your display stand. Keep active cables separated from stored ones to eliminate accidental disconnections mid-game.
Problem #4: Your Setup Looks Like an Afterthought
Half the joy of retro gaming is the aesthetic. A sad console sitting on a bare shelf next to a tangle of wires doesn't honor the hobby — and it makes guests think you're in the middle of moving, not showcasing a collection.
Practical Fixes
- Elevate and illuminate your consoles. An RGB LED Console Display Stand does two jobs at once: it raises your console to a proper display height and adds dynamic backlighting that makes your setup look intentional and impressive. Many models include multiple tiers for stacking consoles.
- Add ambient lighting. LED Strip Lights for Gaming Room behind your TV or along shelves cost under $15 and transform the entire atmosphere of a budget setup. Bias lighting also reduces eye strain during long sessions — a legitimate ergonomic benefit, not just aesthetics.
- Layer in comfort accessories. A Console-Themed Throw Pillow on your gaming chair or couch ties the room's theme together without spending much at all.
Problem #5: You Forget What You've Played or Want to Play
With access to potentially hundreds of retro titles, it's shockingly easy to lose track of what you've completed, what's in your collection, or which games you've been meaning to try for years.
Practical Fix
Keep a physical log. A Retro Gaming Journal & Notebook lets you track your collection, record completion notes, write down cheat codes, and plan future purchases. In an age of digital everything, there's something satisfying about a physical record of your gaming history — and it prevents impulse-buying duplicates at garage sales.
Quick Reference: Budget Retro Setup Troubleshooting Checklist
- [ ] Video signal tested and clean (cable or upscaler solution in place)
- [ ] Cartridge contacts cleaned with proper tools
- [ ] Controllers tested and functional (USB backup acquired)
- [ ] All cables organized and labeled
- [ ] Display stand and lighting in place
- [ ] Game log started
Final Thoughts: Build Smart, Troubleshoot Early
The best budget retro gaming setup under $200 isn't about buying cheap — it's about buying right and knowing how to fix what goes wrong before it ruins your experience. Clean your consoles, sort your cables, upgrade your inputs, and light your space properly. These aren't luxuries; they're the difference between a setup you use every week and one you ignore.
Start with the tools that solve the most problems first: grab a Retro Console Restoration Tool Kit and a Classic SNES-Style USB Controller, and you'll have the foundation of a setup that actually works — and looks great doing it.
Happy gaming. 🎮