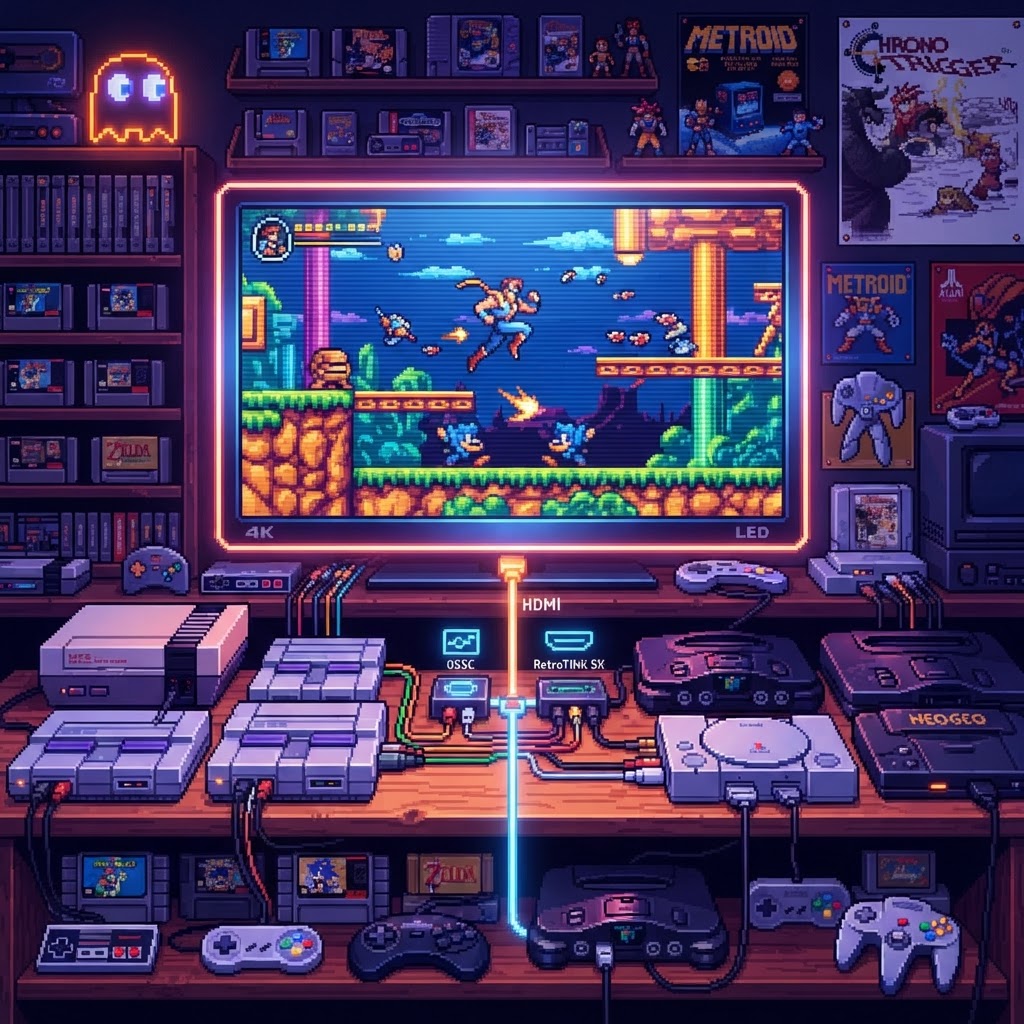
Why Connecting Classic Consoles to a 4K TV Is Harder Than It Looks
Modern 4K TVs are engineering marvels — but they were never designed with a 1991 Super Nintendo in mind. The core problem is signal incompatibility. Classic consoles output analog signals (composite, RF, S-Video, or RGB SCART depending on the system and region), while 4K TVs almost universally require HDMI. Beyond the physical connection issue, modern flat panels process video through internal scalers that introduce input lag — sometimes 100ms or more — which makes fast-action games feel broken.
Then there's the upscaling quality problem. A 240p signal from a retro console stretched across a 3840×2160 4K panel looks soft and smeared without proper processing. Pixels blur. Scanlines disappear. That crisp, characteristic retro look gets lost entirely.
The good news: the retro gaming community has spent decades solving these problems, and today there are more options than ever — including a thriving ecosystem of small-batch and indie hardware makers who are quietly building better solutions than the mainstream market offers.
Understanding Your Classic Console's Video Output
Before buying anything, identify what signal your console actually outputs. This determines which conversion path you need.
| Console | Best Native Output | |---|---| | NES | RF / Composite | | SNES (US) | Composite / S-Video | | Sega Genesis | Composite / RGB (via mod) | | N64 | Composite / S-Video | | PlayStation 1 | Composite / RGB SCART | | Dreamcast | VGA (best native output of the era) |
Pro tip: The higher up the signal chain you start (RGB > S-Video > Composite > RF), the better your final 4K image will look. Some consoles can be modded to output RGB or even HDMI natively — but that's a deeper rabbit hole we'll save for another guide.
The Mainstream Route: Plug-and-Play HDMI Converters
The simplest entry point is a dedicated Retro Console HDMI Converter. These devices take your composite or S-Video signal and convert it to HDMI at 720p or 1080p, which your 4K TV then upscales to fill the screen. They're affordable, widely available, and genuinely useful for casual players who just want to get up and running fast.
What to look for in a basic converter:
- Support for your console's specific signal type (composite, S-Video, or RGB SCART)
- Low-latency processing (look for converters advertising "game mode")
- Stable power delivery via USB
The limitation here is quality ceiling. Basic converters do minimal processing — they don't apply smart scanline filters, they don't handle 240p signals optimally, and they won't give you the crisp pixel-perfect look that serious retro gamers demand.
The Indie Alternative: Small-Batch Upscalers Doing It Better
This is where things get genuinely exciting, and where most mainstream buying guides fall short.
RetroTINK and Open-Source Upscalers
The RetroTINK line (developed by Mike Chi, essentially a one-person operation that grew into a small indie hardware company) has become legendary in retro gaming circles. The RetroTINK 5X Pro, for example, accepts virtually every analog signal type and outputs a clean 1080p signal with proper 240p handling, integer scaling, and low latency. It's not cheap — but it's the kind of product that makes you realize how bad the mainstream alternatives are.
Similarly, the OSSC (Open Source Scan Converter) was designed by a European developer and assembled in small batches. It line-doubles or line-triples your signal rather than fully upscaling it, which preserves an authentic pixel structure many collectors prefer.
These indie options matter because they're built by retro gaming obsessives for retro gaming obsessives. The attention to detail in handling 240p, 480i, and RGB signals is simply not present in mass-market converters.
Should You Consider a CRT-Style Monitor Instead?
Here's an angle most 4K TV guides completely ignore: sometimes the best solution is to not use your 4K TV at all — at least for your dedicated retro gaming setup.
A Premium CRT-Style Gaming Monitor can give you the low-latency, scanline-rich visual experience that classic consoles were actually designed for, without any conversion headaches. Modern CRT-style monitors that emulate the phosphor glow and scanline structure of original displays are a niche but growing category, popular with competitive retro gamers and purists alike.
If you're serious about authenticity, pairing a genuine CRT or a high-quality CRT-style display with a dedicated retro setup alongside your 4K TV for modern gaming is genuinely the best of both worlds.
Reducing Input Lag: The Detail Everyone Forgets
Even with a perfect HDMI signal, your 4K TV's image processing pipeline adds lag. Always enable Game Mode in your TV's picture settings — this bypasses most post-processing and can cut input lag from 80–120ms down to 10–20ms. Most major 4K TV brands (LG, Samsung, Sony) include this mode, though it's sometimes buried in menus.
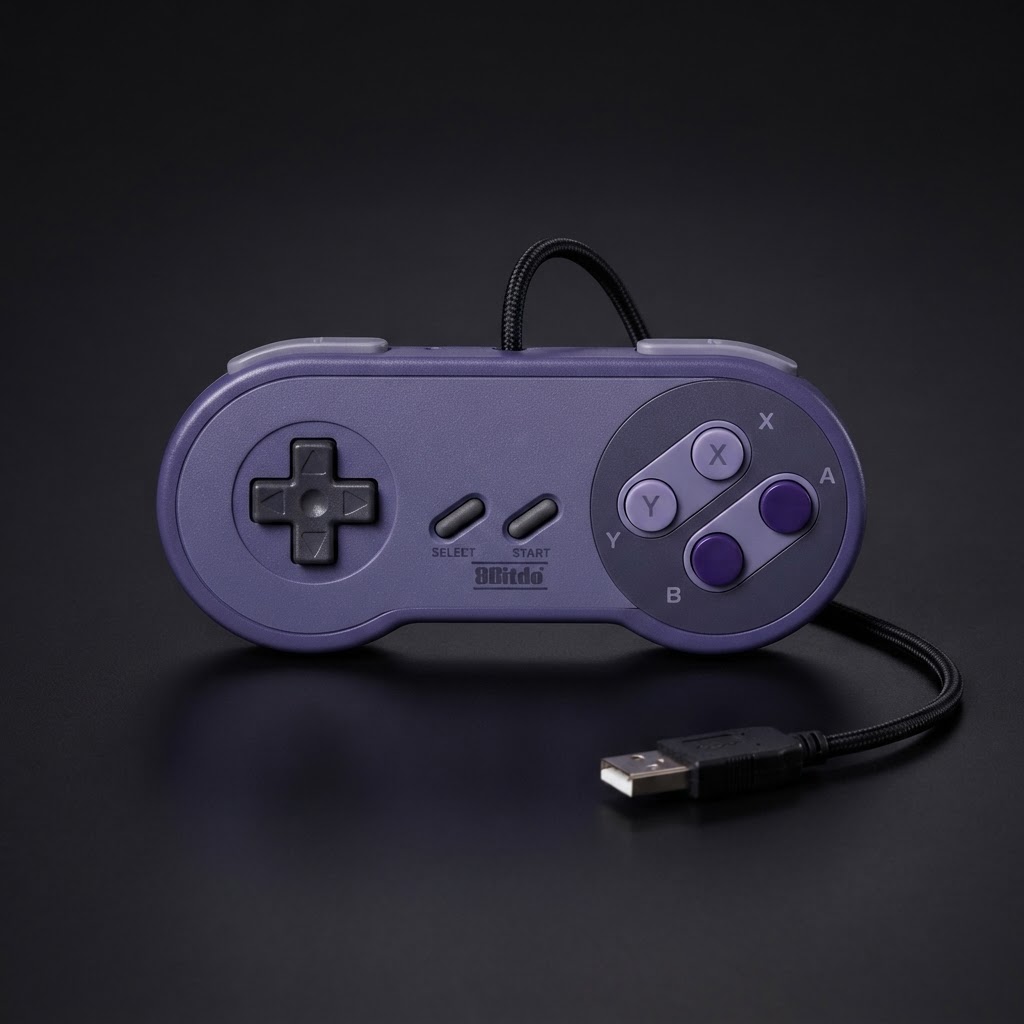
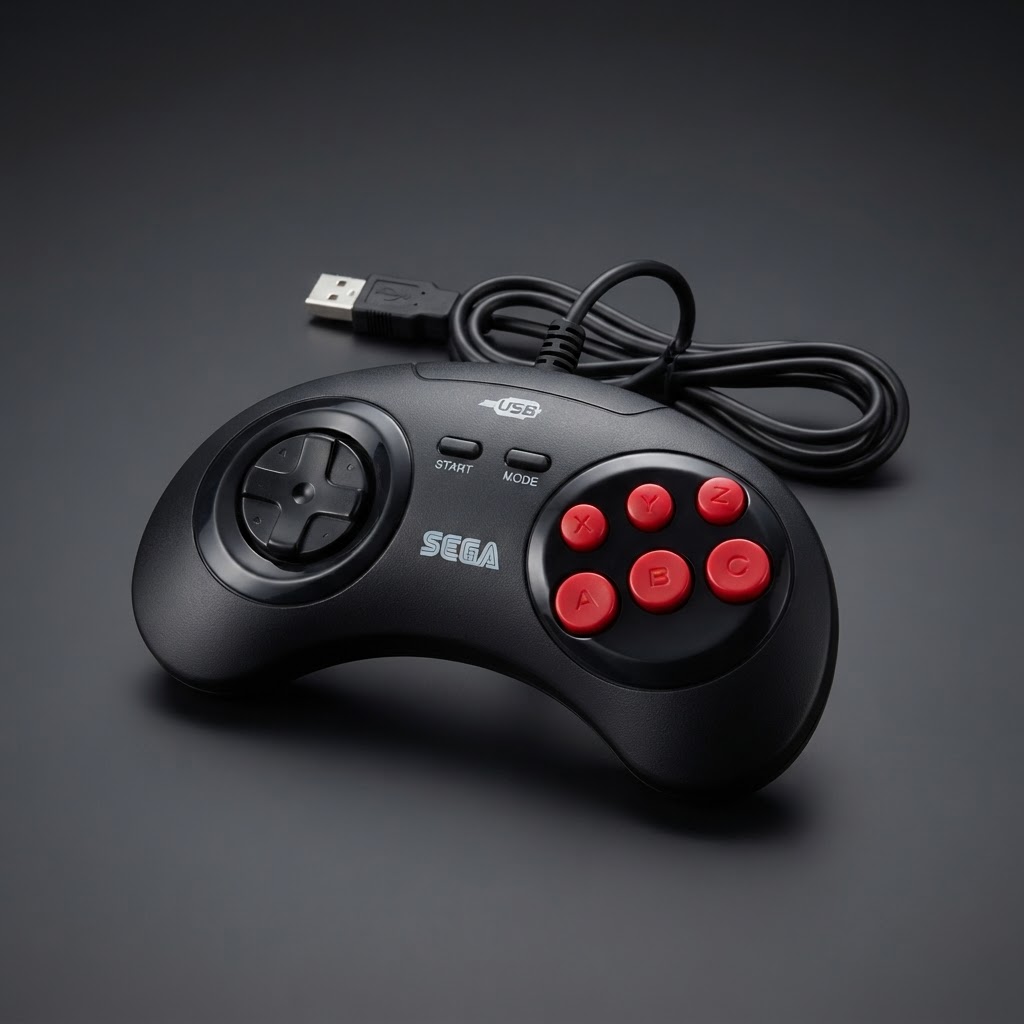
Pair your low-lag setup with a quality controller. If you're playing arcade-style games on MAME or a system like the Neo Geo, a Hori Fighting Stick Arcade Controller delivers the authentic feel that a standard gamepad simply can't replicate, and Hori's build quality is consistently excellent even among budget-tier arcade sticks.
Setting Up Your Retro Station: The Finishing Touches
Once your video connection is dialed in, your setup deserves proper care and presentation.
Keep your cartridges clean. Dirty cartridge contacts are one of the most common causes of glitches and failed boots. An Anti-Static Cartridge Cleaning Brush is an inexpensive, essential tool for any collector — especially important if you're dealing with 30-year-old cartridges.
Protect your hardware. Classic consoles attract dust aggressively, and dust is the enemy of aging hardware. A Retro Console Dust Cover Set keeps your systems protected between sessions without requiring you to box them away.
Sound matters too. Retro console audio through a flat-panel TV's built-in speakers is genuinely underwhelming. If you want the FM synthesis of a Sega Genesis or the SNES SPC700 chip to sound the way it was meant to, routing your audio through a High-End Retro Gaming Amplifier/Speaker System transforms the experience completely.
Quick-Reference: Recommended Connection Path by Console
- NES: Composite → HDMI Converter → 4K TV (Game Mode on)
- SNES: S-Video → HDMI Converter or RetroTINK → 4K TV
- Sega Genesis: RGB SCART → RetroTINK or OSSC → 4K TV
- N64: S-Video → HDMI Converter → 4K TV (or N64Digital mod for best results)
- PlayStation 1: RGB SCART → RetroTINK → 4K TV
- Dreamcast: VGA → HDMI adapter → 4K TV (cleanest path of any 5th-gen console)
Conclusion: Don't Settle for Blurry Pixels
Connecting classic consoles to a 4K TV is absolutely achievable — but the difference between a mediocre setup and a great one comes down to the quality of your signal conversion. The indie and small-batch hardware community has built tools that mainstream retailers barely acknowledge, and they're worth seeking out.
Start with a reliable Retro Console HDMI Converter to get up and running, then level up to a RetroTINK or OSSC when you're ready to experience your classic library the way it was truly meant to look. Your 4K TV can be a surprisingly great retro gaming display — it just needs the right bridge between past and present.