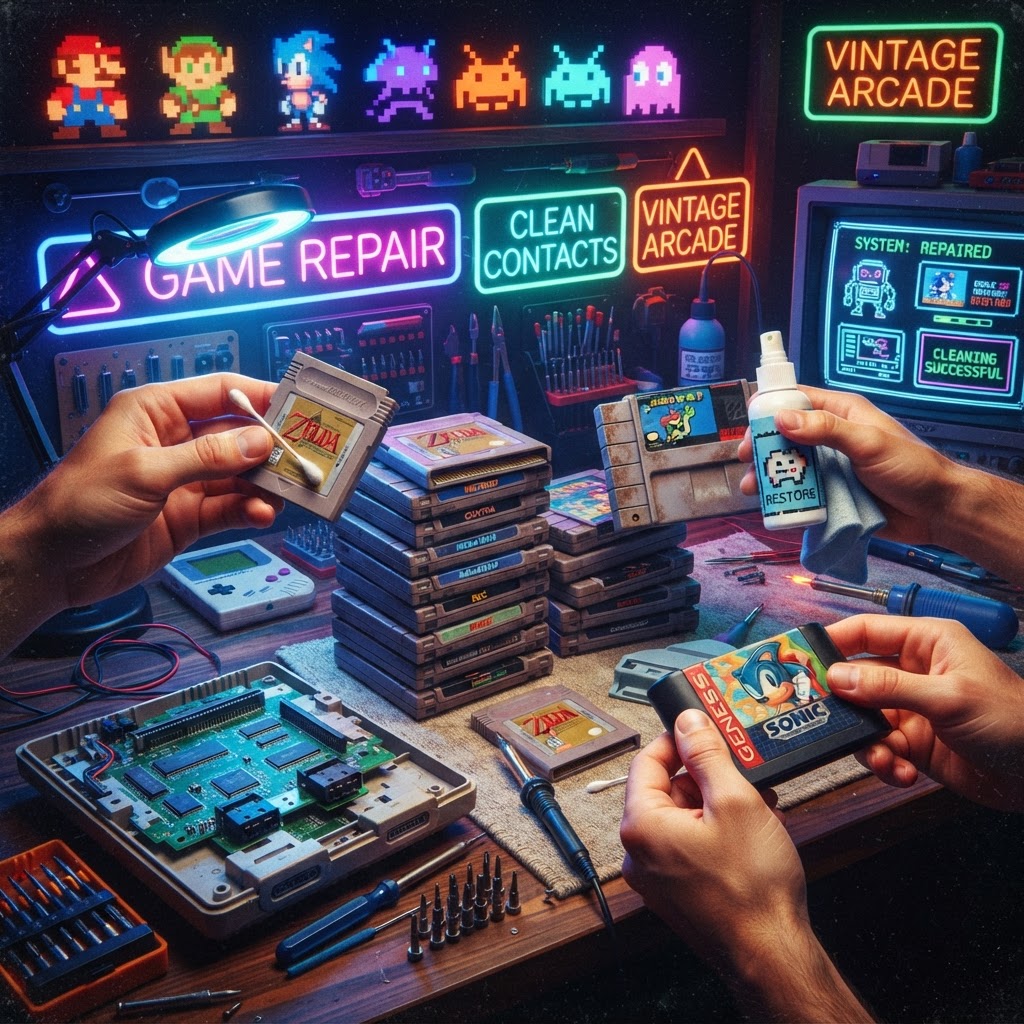
Why Cartridge Restoration Matters More Than You Think
A vintage cartridge that won't boot isn't just frustrating — it's a ticking clock on gaming history. Oxidized contacts, grime-packed shells, and degraded labels can render a $5 find unplayable or slash hundreds of dollars off a collector-grade piece. The good news? Most cartridges are far more salvageable than they look. The tricky part is choosing which method to use without causing damage.
This guide compares the four most popular restoration approaches head-to-head: isopropyl alcohol cleaning, the pencil eraser trick, contact cleaner sprays, and full shell replacement. We'll give each method a fair shake so you can make the right call for your collection.
Method 1: Isopropyl Alcohol (IPA) Cleaning
Best for: General oxidation, light corrosion, everyday grime
How It Works
Dampen a cotton swab with 90%+ isopropyl alcohol (never anything lower — the water content in diluted IPA can cause further oxidation) and scrub the gold contacts firmly in a back-and-forth motion. Let it dry completely before testing.
Pros
- Cheap, widely available, and effective on the vast majority of carts
- Non-destructive to the PCB when used correctly
- Evaporates cleanly with no residue
- Works on cartridges from NES, SNES, N64, Genesis, Game Boy — virtually every platform
Cons
- Won't fully remove heavy corrosion or greenish oxidation
- Requires multiple passes on neglected carts
- Easy to over-saturate the swab and drip into the PCB
Verdict
This is the go-to first step for any cartridge restoration. It handles 80% of cases on its own. If a cart still won't boot after three or four thorough cleanings, move on to a more aggressive method.
Method 2: The Pencil Eraser Trick
Best for: Stubborn oxidation that IPA alone can't crack
How It Works
Use a clean, white vinyl eraser (not a pink rubber eraser, which can be too abrasive) and gently rub the gold contacts in one direction. Follow up immediately with an IPA swab to remove eraser debris.
Pros
- Mechanically removes oxidation that chemical cleaning misses
- No special tools or purchases required
- Surprisingly effective on heavily tarnished N64 and Game Boy carts
Cons
- Risk of leaving micro-scratches on contacts with repeated use
- Eraser debris must be cleaned off or it causes new connectivity issues
- Not suitable for very thin or worn contacts — you can erase the gold plating itself
Verdict
Think of this as a last resort before disassembly. It works, but it's not something you want to do every time a cart acts up. Reserve it for truly stubborn cases.
Method 3: Contact Cleaner Sprays (DeoxIT and Similar)
Best for: Professional-grade restoration, heavily corroded boards
How It Works
Products like DeoxIT D5 apply a chemical that dissolves oxidation and leaves a thin protective coating. Spray onto contacts or apply with a swab, work it in, then wipe clean.
Pros
- Outperforms IPA on severe oxidation and corrosion
- Leaves a protective layer that slows future tarnishing
- Trusted by electronics technicians worldwide
- Excellent for edge connectors on PCBs that are partially corroded
Cons
- More expensive than IPA — a can runs $10–$20
- Overkill for lightly dirty carts
- The protective residue can cause issues if over-applied and not properly wiped
Verdict
If you're serious about restoration — especially for high-value or heavily damaged cartridges — DeoxIT-style contact cleaners are worth every penny. They're the professional standard for a reason.
Method 4: Full Shell Replacement
Best for: Cracked, broken, or severely cosmetically damaged cartridges
How It Works
Using a gamebit screwdriver (a specialized security bit required for Nintendo carts), you open the cartridge, transfer the PCB into a brand-new shell, and reassemble. Replacement shells are available for most major platforms.
Pros
- Completely solves cosmetic damage — broken tabs, cracked plastic, missing labels
- Can dramatically increase the perceived value and display quality of a cart
- Replacement shells are inexpensive and widely available
- Pairs well with label reprints for a near-mint appearance
Cons
- A replaced shell disqualifies a cartridge from being "original" in the strictest collector sense
- Requires a gamebit screwdriver set (though these are cheap)
- PCB transfer risks damage if you're not careful
- Purists will always prefer original housing, even worn
Verdict
For display pieces or personal use, shell replacement is a fantastic option. For resale or graded collection purposes, proceed with caution and always disclose that the shell has been replaced. If you go this route, Retro Game Case Replacement Shells are readily available in authentic colorways for NES, SNES, N64, and Game Boy carts.
Head-to-Head Comparison Table
| Method | Cost | Effectiveness | Risk Level | Best Platform | |---|---|---|---|---| | IPA Cleaning | $ | ★★★★☆ | Low | All | | Pencil Eraser | $ | ★★★☆☆ | Medium | N64, GB | | Contact Spray | $$ | ★★★★★ | Low-Medium | All, esp. NES | | Shell Replacement | $$ | ★★★★★ (cosmetic) | Medium | NES, SNES, GB |
Beyond the Cartridge: Setting Up Your Restored Collection
Once your carts are clean and playing beautifully, the next question is how you're playing them. If you want the most authentic hardware experience, consider pairing your restored collection with an FPGA Retro Console (Analogue-Style) — these devices run your original cartridges with cycle-accurate emulation, no lag, and no software licensing issues.
For the best possible picture quality out of your original hardware, the RetroTINK 4K Video Upscaler is the gold standard for scaling retro signals to modern 4K displays with zero compromise on image fidelity.
And if you're building a dedicated retro gaming space to house and show off that freshly restored collection, a Retro Gaming LED Backlight Strip behind your display shelf or entertainment unit adds that satisfying glow that every retro setup deserves.
Pro Tips for Long-Term Cartridge Health
- Store vertically in a cool, dry environment — humidity is the enemy of gold contacts
- Use dust covers or plastic sleeves on frequently played carts
- Never blow into cartridges — the moisture from breath accelerates corrosion over time (yes, this really is bad for them)
- Clean your console's slot as often as you clean your carts — grime transfers both ways
- Test before storing — a cart that boots unreliably today will likely fail completely in six months
Conclusion: The Right Tool for the Right Problem
There's no single "best" method for restoring vintage game cartridges — it depends entirely on the condition of the cart and your goals. Start with IPA cleaning for 90% of cases, escalate to contact spray for serious corrosion, use the eraser trick sparingly, and reach for shell replacement when cosmetics matter most.
The most important thing is to actually do the work. Every cartridge you restore is a piece of gaming history preserved for another generation. Start with a pack of quality swabs and some 90%+ IPA, and when you're ready to take your collection to the next level, grab some Retro Game Case Replacement Shells and give those battered classics the second life they deserve.