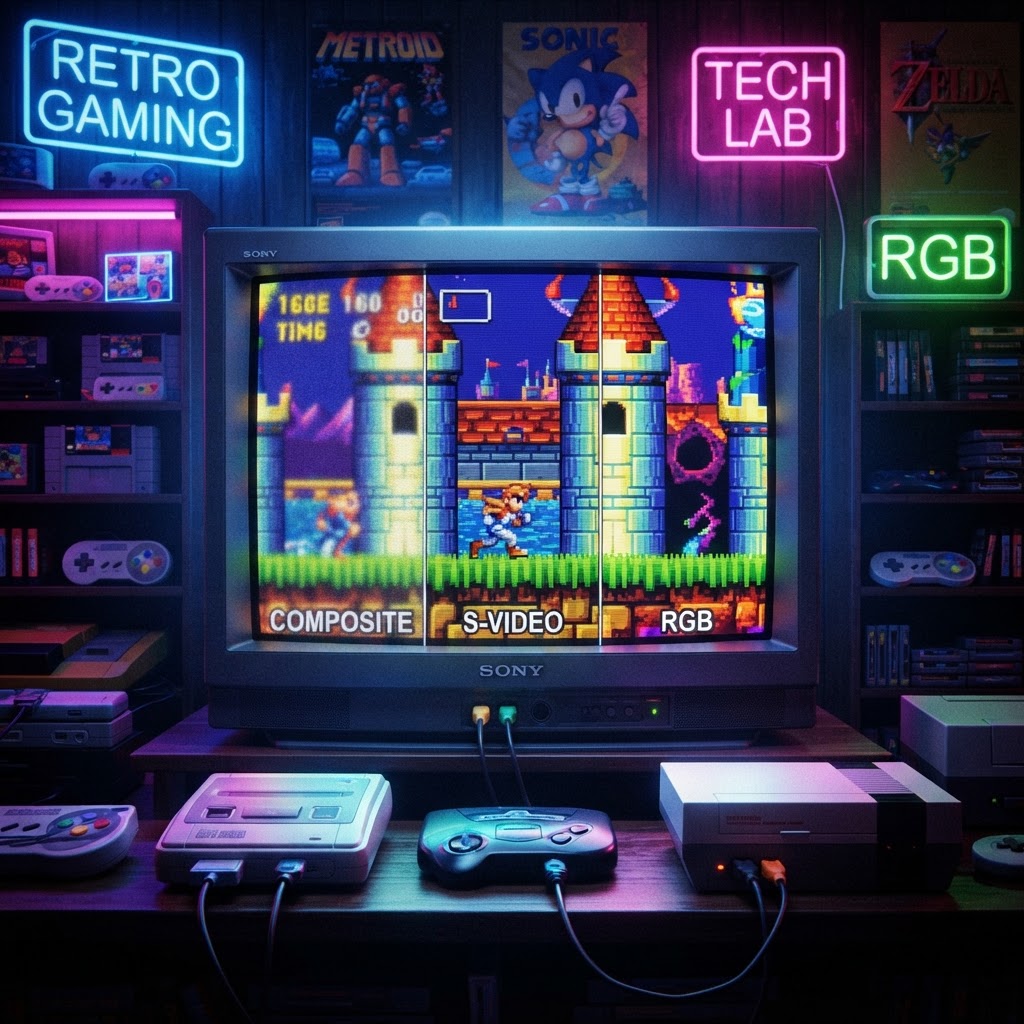
Composite vs S-Video vs RGB: Understanding Retro Video Signals (And Fixing Common Problems)
Whether your SNES looks blurry on a modern TV or your Genesis is throwing a rainbow of artifacts across the screen, understanding the difference between composite, S-Video, and RGB is the first step to actually solving the problem — and finally seeing your retro games the way they were meant to look.
Why Retro Video Signals Matter More Than You Think
You've probably noticed that plugging an old console into a modern TV rarely looks great. Colors bleed, edges blur, and the whole image feels like it's swimming through Jell-O. The culprit almost always comes down to one thing: which video signal format you're using. Composite, S-Video, and RGB are three fundamentally different ways of encoding a video signal, and each one delivers a dramatically different picture quality. Knowing the difference — and more importantly, knowing how to troubleshoot problems with each — is essential knowledge for any serious retro gamer.
The Three Signal Types Explained
Composite: The Most Common, The Most Problematic
Composite video combines all picture information — luminance (brightness), chrominance (color), and sync — into a single cable, typically the familiar yellow RCA connector. It was the most widely used connection standard throughout the '80s and early '90s, supported by virtually every retro console from the Atari 2600 to the PlayStation 1.
The problem? Combining all that signal data into one cable creates crosstalk — interference between the color and brightness signals. The result is the characteristic "dot crawl" (a shimmering pattern along high-contrast edges) and color bleeding that makes composite video look soft and noisy.
Common composite problems and fixes:
- Dot crawl / shimmering edges: This is unavoidable with composite. The fix is to upgrade to S-Video or RGB (more on that below).
- Washed-out colors: Check your cable quality. Cheap composite cables add resistance and signal degradation. Replace with a shielded, high-quality RCA cable.
- Rolling image or no sync: Usually a grounding issue. Try a different outlet or AV receiver.
- Black-and-white picture: Your TV may be defaulting to a different color system. Check your TV's input settings and ensure it supports NTSC (or PAL, depending on your region).
S-Video: The Practical Sweet Spot
S-Video (also called Y/C) takes a meaningful step forward by separating the luminance (Y) and chrominance (C) signals into two distinct channels within a single 4-pin DIN connector. This separation eliminates the crosstalk inherent to composite, resulting in sharper edges, cleaner colors, and significantly reduced dot crawl.
Consoles like the Super Nintendo, Nintendo 64, Sega Genesis (with a mod), PlayStation 1 and 2, and Dreamcast all support S-Video to varying degrees. It's often the best "plug-and-play" upgrade for consoles that don't natively output RGB.
Common S-Video problems and fixes:
- Chroma noise / color grain: This typically means a low-quality S-Video cable. The signal is still analog and susceptible to interference. Invest in a properly shielded cable with ferrite cores.
- Image looks no better than composite: Your TV may be internally converting S-Video back to composite before processing. Check your TV's menu settings, or test on a different display.
- No picture at all: The 4-pin S-Video connector is fragile. Inspect the pins carefully — bent or missing pins are a common failure point. Also confirm the console actually outputs S-Video natively (not all do without modification).
- Color smearing on SNES: Some SNES units have a known issue with the multi-out port degrading S-Video quality. A capacitor replacement on the console's video encoder can restore clean output.
RGB: The Gold Standard for Retro Picture Quality
RGB video transmits the red, green, and blue color channels as completely separate signals, along with a separate sync signal. Because there is zero mixing or encoding of color data, RGB delivers the cleanest, sharpest, most accurate image possible from retro hardware — this is literally how arcade monitors and professional broadcast monitors worked.
The most common RGB connection standard for retro gaming is SCART (popular in Europe and Australia) or Component video (which converts the RGB signal to YPbPr). Many consoles — including the SNES, Mega Drive/Genesis, PlayStation 1 and 2, Saturn, and Neo Geo — output native RGB with the right cable.
Common RGB problems and fixes:
- Green-tinted image over SCART: Almost always a sync issue. Make sure you're using a cable that carries composite sync (CSYNC) rather than relying on luma as sync — or check if your TV/upscaler handles sync-on-luma.
- No 240p support on modern TVs: Modern televisions cannot natively display 240p (the resolution most retro consoles output). This is where an upscaler like the Open Source Scan Converter (OSSC) becomes absolutely essential. The OSSC takes your RGB signal and line-multiplies it into an HDMI-compatible resolution without adding lag — it's the go-to tool for RGB purists.
- Flickering or unstable picture: This is often a cable shielding problem, or your display struggling with the sync signal. The OSSC's "analog sync" settings let you fine-tune the sync level to match your source.
- RGB output looks softer than expected: Some consoles (notably the SNES) have an RGB encoder that adds a slight blur. This is a hardware-level characteristic, not a cable problem. It can be addressed with a "bypass" mod.
Upgrading Your Setup: The Right Tools for the Job
Once you understand what signal format your console outputs, the next step is getting the right hardware to bring that signal to a modern display.
For RGB setups, the Open Source Scan Converter (OSSC) is the most popular choice among enthusiasts — it handles SCART, Component, and VGA inputs, introduces near-zero lag, and outputs clean HDMI. It's one of the best investments you can make for a retro gaming setup.
If you're running multiple consoles through a single display, an HDMI Splitter for Retro Consoles lets you switch between upscaled outputs without unplugging and re-plugging cables constantly — a small quality-of-life upgrade that makes a real difference during long gaming sessions.
Speaking of long sessions, don't overlook ergonomics. A good Retro Gaming Wrist Rest keeps your wrists comfortable whether you're fine-tuning your OSSC settings or grinding through a classic RPG. And if you want to keep your consoles running clean and cool while you game, Console Vent Dust Filters are a simple, affordable way to protect your hardware from dust buildup — a leading cause of overheating and premature component failure in older consoles.
Quick Reference: Signal Quality Comparison
| Signal Type | Color Separation | Typical Quality | Best Use Case | |---|---|---|---| | Composite | None (all combined) | Low | Last resort / no other options | | S-Video | Luma / Chroma split | Medium | Easy upgrade, most consoles | | RGB | Full R/G/B separation | Highest | Best possible picture quality |
Conclusion: Stop Settling for a Blurry Picture
There's no reason to play your favorite retro games through a muddy composite signal when better options exist. Start with S-Video if your console supports it — it's an easy, affordable upgrade. Then seriously consider moving to RGB with an Open Source Scan Converter (OSSC) for the best possible picture on a modern display. Your childhood favorites deserve to look their best.