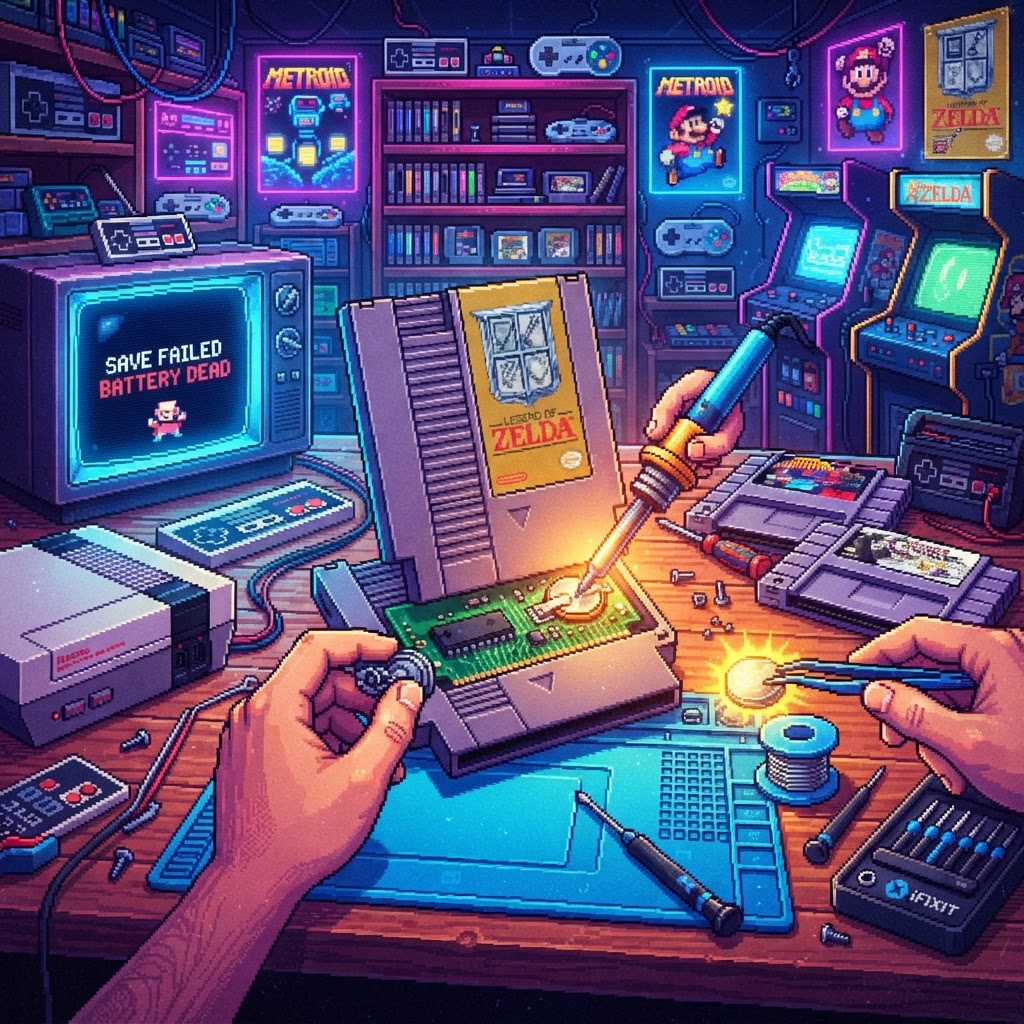
How to Replace a Game Cartridge Save Battery (Without Breaking the Bank)
Learn how to replace the save battery in your retro game cartridges with this budget-friendly, step-by-step guide — because your childhood saves are worth rescuing without spending a fortune.
Why Your Retro Game Cart Won't Save Anymore (And What You Can Do About It)
If you've ever booted up an old Game Boy, SNES, or Game Boy Advance cartridge only to find your saved progress completely wiped — or worse, the game refuses to save at all — you've likely encountered a dead save battery. These tiny coin cell batteries power the cartridge's internal SRAM, keeping your game data alive even when the console is off. Most of them were only designed to last 10–20 years, which means millions of cartridges from the late 1980s through the early 2000s are now silently dying on shelves around the world.
The good news? Replacing a save battery is one of the most accessible DIY repairs in all of retro gaming. It requires minimal tools, costs less than a cup of coffee, and can be completed in under 30 minutes — even if you've never picked up a soldering iron before. This guide is specifically aimed at budget-conscious collectors who want to rescue their cartridges without overspending.
What You'll Need: Tools and Materials on a Budget
Before you start, gather your supplies. The total cost for a first-time repair typically runs between $5 and $15, depending on what you already own.
Essential Tools
- Security screwdriver bits — Most Nintendo cartridges use 3.8mm gamebit screws; Sega Genesis carts use Torx T10. A multi-bit security screwdriver kit from a dollar store or Amazon often works perfectly fine for under $5.
- Soldering iron — A basic 30–40W iron is all you need. Beginner kits frequently go on sale for $10–$15. If you don't want to solder at all, see the tape method below.
- Solder and solder wick/desoldering pump — Small quantities are cheap and last for dozens of repairs.
- Electrical tape or a CR2025/CR2032 battery holder — Useful for a no-solder approach.
The Star of the Show: The Replacement Battery
The most common save batteries used in retro cartridges are:
| Console | Battery Type | |---|---| | NES, SNES, N64 | CR2032 | | Game Boy (most) | CR2025 or CR2032 | | Sega Genesis | CR2032 | | Game Boy Advance | CR1616 or CR2016 |
CR2032 batteries are the most universal and widely available. You can buy a pack of 10 for around $3–$6 at any dollar store, pharmacy, or online. Do not buy "name brand" batteries for this repair — generic CR2032s work just as well for low-draw SRAM applications and can save you several dollars per repair session.
Step-by-Step: How to Replace a Save Battery in a Retro Cartridge
Step 1 — Open the Cartridge
Use your security bit screwdriver to remove the screw(s) from the back of the cartridge. Most cartridges have a single screw hidden at the bottom center. Gently separate the two halves of the shell and set them aside. Take a phone photo of the board before touching anything — it's a good habit.
Step 2 — Locate the Save Battery
The battery is usually a silver coin cell soldered to the PCB with metal tabs crimped or spot-welded over it. It will often have a printed date or part number on it. Note that some cartridges (especially later GBA titles) use flash memory and do NOT have a save battery at all.
Step 3 — Remove the Old Battery (Two Methods)
Soldering method (recommended for longevity): Heat the solder joints on the battery tabs with your iron, then use solder wick or a pump to remove excess solder. Once both tabs are free, gently lift the battery out. Lightly sand or clean the contact points with isopropyl alcohol before installing the new battery.
No-solder tape method (great for beginners on a budget): If you don't own a soldering iron, carefully bend back the metal tabs and slide the old battery out. Place the new CR2032 in the same orientation, fold the tabs back over it firmly, and secure with a small strip of electrical tape. This method is less permanent but can last years with a quality tape job.
Step 4 — Install the New Battery
Seat the new battery positive-side up (marked "+") unless the old battery was oriented differently. Solder the tabs back in place or secure with the tape method. Use fresh solder for a clean, reliable joint.
Step 5 — Test Before You Close Up
Before reassembling the cartridge, load it in the console and try saving a game. If it saves and holds the data after powering off and on, you're good to go.
Step 6 — Reassemble and Optionally Refresh the Label
Once you've confirmed the repair, screw the cartridge back together. This is also a great time to clean up the exterior. If the original label is faded or damaged, a set of Game Cartridge Labels & Stickers can restore that fresh-from-the-store look without spending much at all — perfect for budget-minded collectors who want their shelf to look sharp.
Common Mistakes to Avoid
- Wrong battery orientation — Installing the battery upside-down won't damage anything immediately, but it also won't save your game. Always match the polarity markings.
- Bridging solder joints — Use the minimum amount of solder necessary. Excess solder can cause shorts.
- Skipping the test — Always test before reassembling.
- Losing the screw — These security screws are tiny. Work over a white cloth or tray so nothing rolls away.
Displaying Your Repaired Collection on a Budget
Once you've restored your cartridges' save functionality, you'll want to show them off properly. A well-organized display not only looks great but also makes your collection easier to access for those spontaneous gaming sessions. A Gaming Console Shelf Riser is a surprisingly affordable way to elevate your consoles and carts into a tidy, tiered display that maximizes shelf space without requiring expensive custom furniture.
And if you're pairing those newly restored cartridges with a freshly set-up gaming station, consider a Limited Edition Retro Console Bundle to play them on — many of these bundles represent exceptional value compared to hunting down original hardware and refurbishing it yourself.
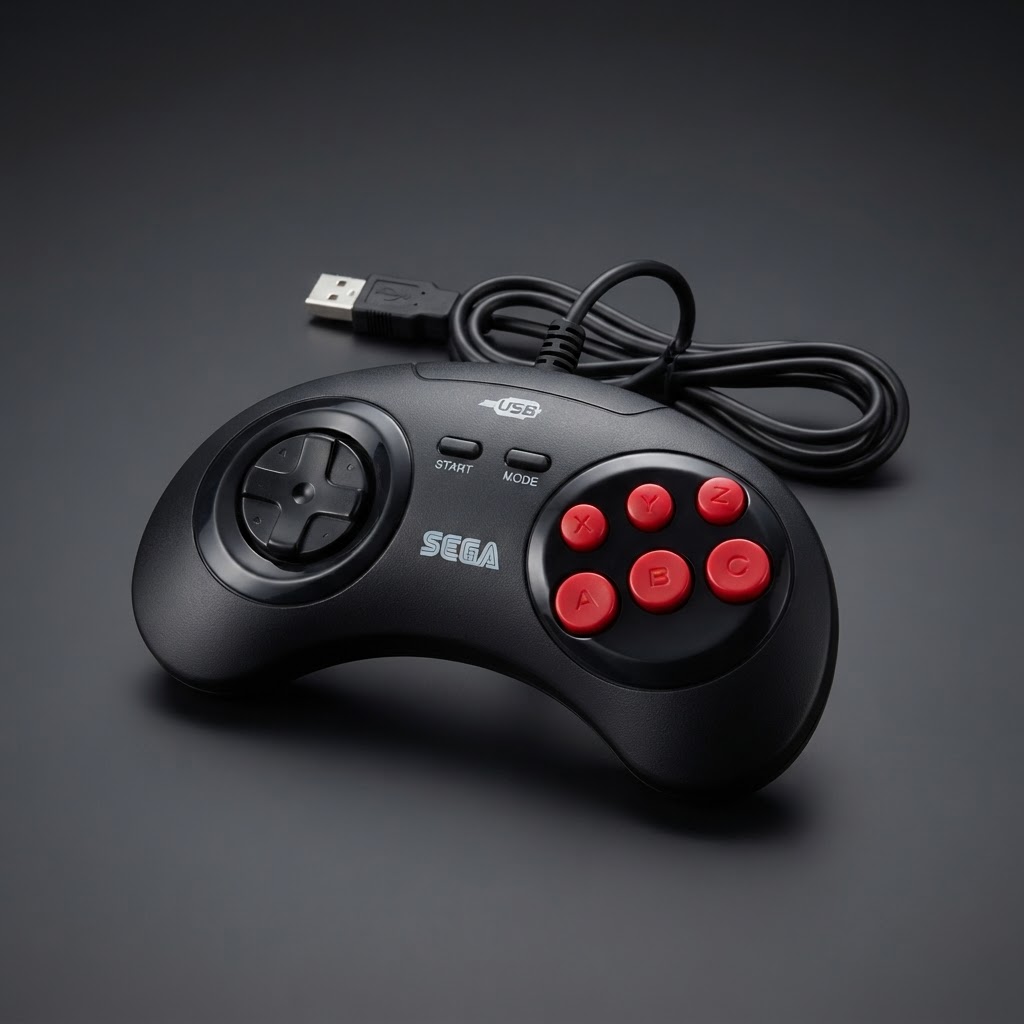
For an authentic feel while you're grinding through those newly resurrected saves, a Sega Genesis Style USB Controller pairs beautifully with emulation setups and gives you that classic six-button layout without the cost of sourcing an original controller in good condition.
How Long Will the New Battery Last?
A fresh CR2032 battery in a cartridge should last another 10 to 20 years under normal use. The drain is extremely minimal — the SRAM only draws power passively to retain data. You're unlikely to ever need to do this repair twice on the same cartridge in your lifetime.
Conclusion: The Most Rewarding $3 Repair in Retro Gaming
Replacing a save battery is the entry point into retro game repair for a reason — it's low risk, low cost, and the payoff is huge. For less than the price of a fast food meal, you can bring a dead cartridge back to life and preserve gaming history in the process. Once you've done one, you'll wonder why you ever hesitated.
Ready to start your repair journey? Pick up some Game Cartridge Labels & Stickers to finish your restored carts in style, and keep an eye on RetroGamingVault for more budget-friendly guides, reviews, and collector tips.