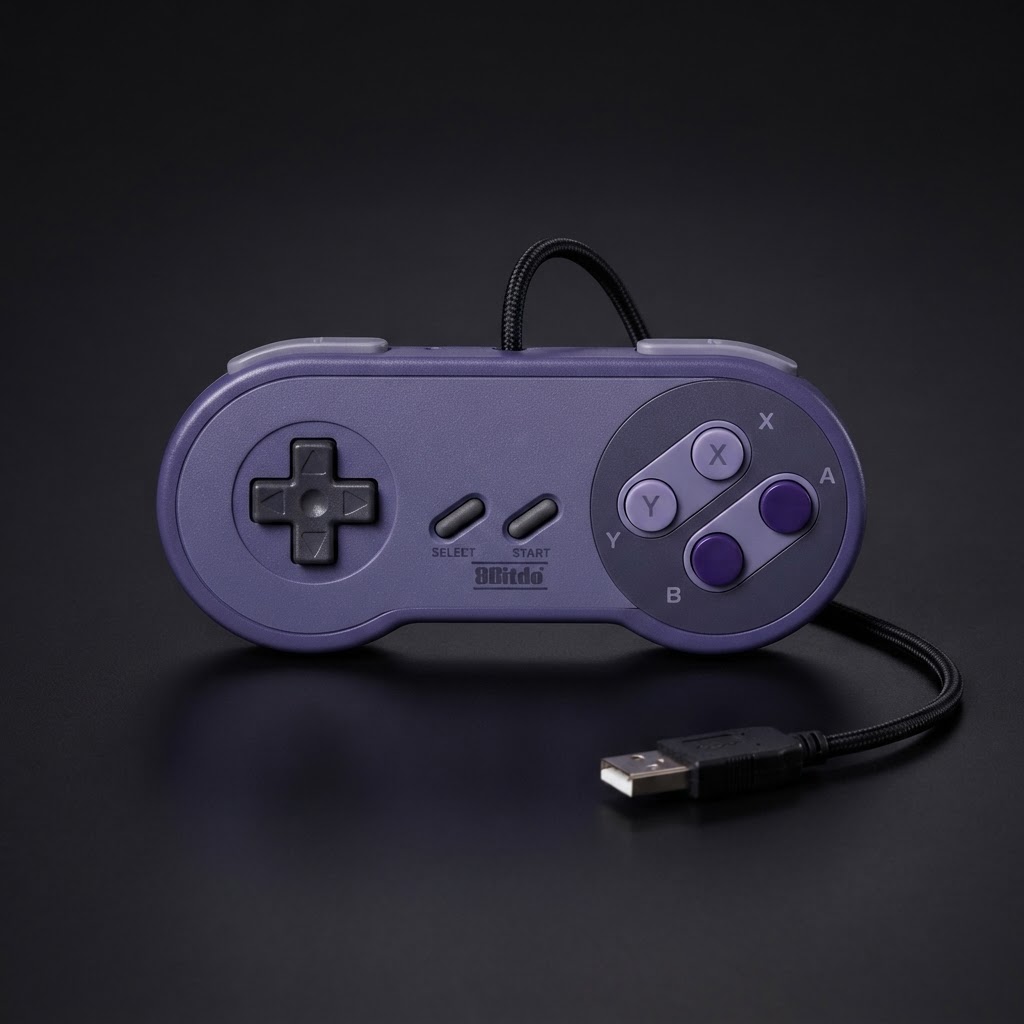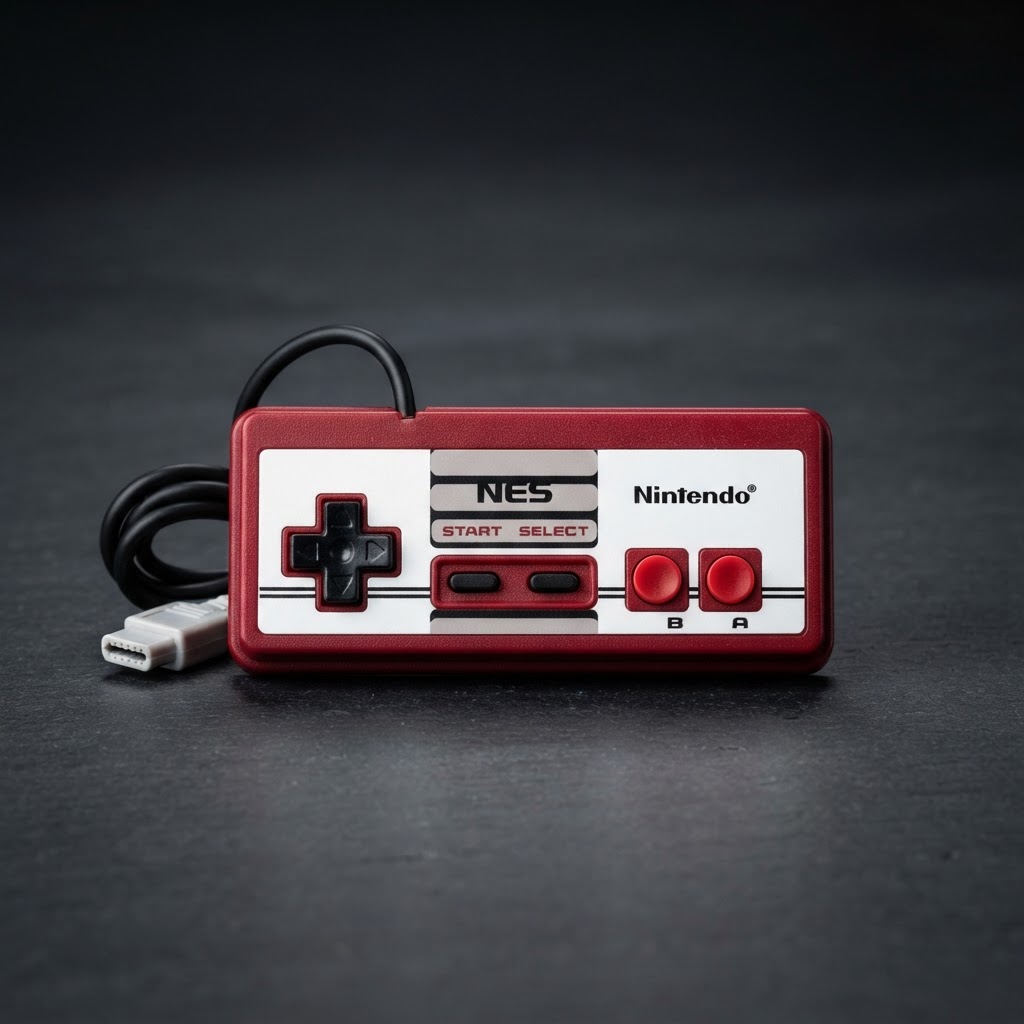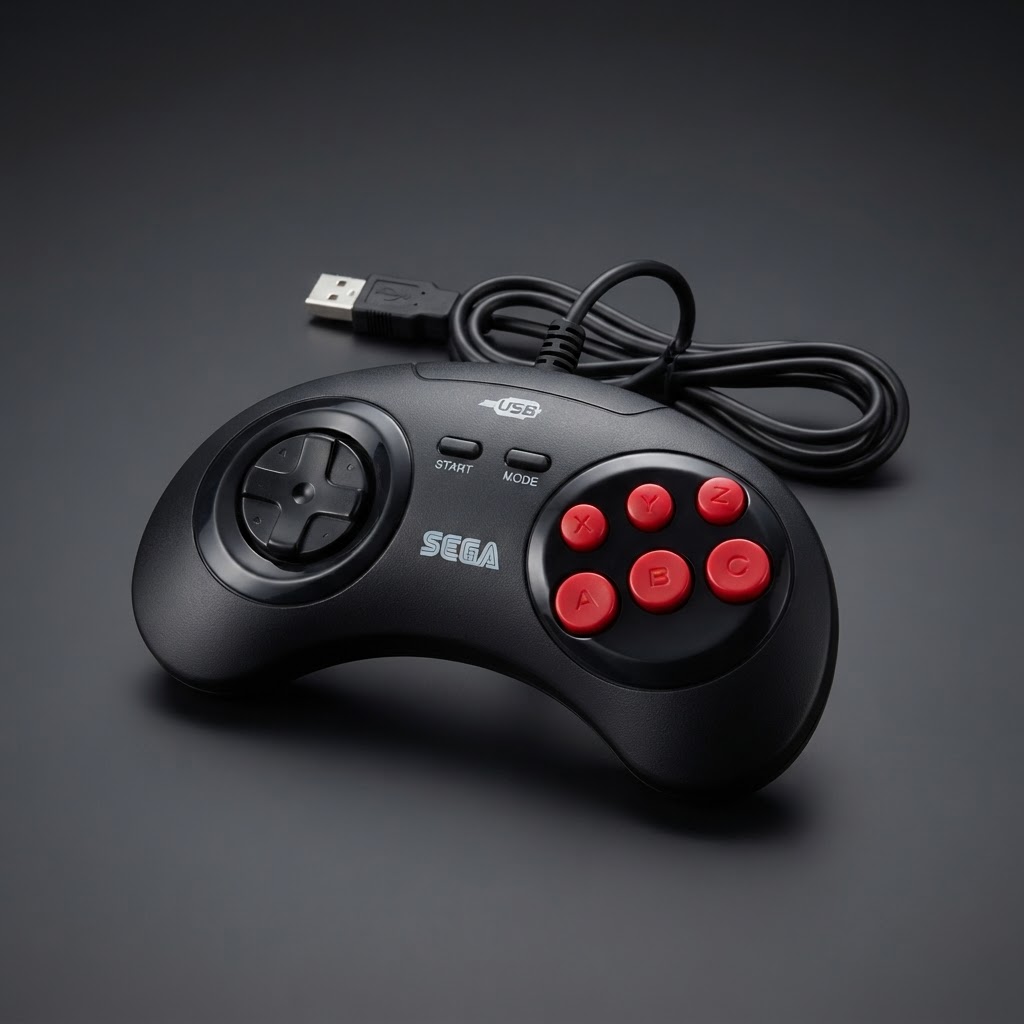
If you've ever watched a perfectly preserved NES or Sega Genesis spark, flicker, and die because of a cheap replacement power supply, you know the sinking feeling that follows. Vintage consoles are increasingly difficult and expensive to replace, and their original power supplies are often the weakest link in the chain — aging capacitors, cracked insulation, and voltage drift make original PSUs a genuine fire hazard. But not all replacements are created equal. This guide ranks the 10 most critical factors you need to consider when choosing a power supply for your vintage console, so you can game confidently without gambling with your collection.
The 10 Most Important Factors for Choosing a Vintage Console Power Supply (Ranked)
#1 — Correct Output Voltage (Non-Negotiable)
Voltage is the single most important spec. Every console demands a precise voltage — the NES needs 9V DC, the SNES needs 10V DC, the Sega Genesis Model 1 needs 9V DC at a different amperage than the Model 2. Even a 10% overvoltage can permanently damage internal regulators. Always cross-reference the console's original PSU label or a verified hardware database before purchasing any replacement.
Why it ranks #1: Wrong voltage = dead console. There is no recovery.
#2 — Correct Polarity
Center-positive vs. center-negative barrel connectors look identical but are electrically opposite. Many retro consoles — particularly Commodore and Atari machines — use center-negative configurations that are uncommon in modern electronics. Plugging in a center-positive supply into a center-negative console will instantly destroy diodes and voltage regulators.
Pro tip: Use a multimeter to verify polarity before connecting any third-party PSU to your hardware.
#3 — Adequate Amperage (Current Rating)
Your power supply must meet or slightly exceed the console's current draw. Underpowered supplies cause brownouts, audio glitches, random resets, and long-term component stress. A supply rated too high in amperage is generally safe — the device draws only what it needs — but a supply rated too low will run hot and degrade rapidly.
Rule of thumb: Choose a replacement rated at least 10–15% above the original PSU's amperage specification.
#4 — AC vs. DC Output
This is a surprisingly common mistake. The original Atari 2600 heavy-sixer uses an AC output supply, not DC. Plugging in a DC supply will prevent the console from working at all, or worse, damage the internal rectifier circuit. Always confirm whether your console requires AC or DC — this information is stamped on the original brick or available through console-specific hardware wikis.
#5 — Regulated vs. Unregulated Output
A regulated power supply maintains a consistent voltage regardless of load fluctuations. An unregulated supply's voltage rises and falls with demand — fine for some older designs that handle their own regulation internally, but potentially damaging for others. Modern regulated switching supplies are generally the safest choice for most vintage consoles, provided the voltage and polarity are correct.
#6 — Connector Size and Fit
Barrel connector dimensions vary widely: 5.5mm/2.1mm, 5.5mm/2.5mm, 3.5mm/1.35mm, and more. A connector that's slightly too large or small can make intermittent contact, causing voltage spikes and resets mid-game. Always verify the inner and outer diameter of the original connector, not just the general shape.
For your desk setup: Pairing your verified PSU with a clean RGB Retro Gaming Desk Setup Bundle keeps cables organized and reduces the risk of accidental disconnection during play.
#7 — Build Quality and Safety Certifications
Look for power supplies bearing UL, CE, or FCC certifications. These indicate the unit has been tested for electrical safety, overcurrent protection, and thermal shutdown. Cheap uncertified supplies from unknown manufacturers lack short-circuit protection — meaning a fault inside your console could damage the supply and vice versa, potentially creating a fire hazard.
Brands to look for: RetroGameCave, Hyperkin (for specific platforms), and Mean Well industrial supplies are well-regarded in the retro community for quality.
#8 — Noise and Ripple Specification
Electrical noise and voltage ripple from a low-quality switching supply can introduce audio interference (that infamous high-pitched whine through your TV speakers) and video artifacts. Vintage analog hardware is particularly sensitive to a noisy power rail. Supplies with ripple below 50mV peak-to-peak are generally considered acceptable; below 20mV is excellent.
This factor matters even more if you're gaming on a high-quality display. A Premium CRT-Style Gaming Monitor will ruthlessly expose any video noise introduced by a poor PSU, making this spec well worth your attention.
#9 — Thermal Performance and Long-Term Reliability
A power supply that runs hot is a power supply with a shortened lifespan. Vintage consoles are often played for multi-hour sessions, and a PSU that throttles or degrades under sustained load can introduce voltage instability over time. Supplies with aluminum heatsink casings and proper thermal management outlast cheap plastic units significantly.
Collector insight: If you're investing in quality hardware — perhaps an Analogue 3D FPGA Console alongside your original cartridge library — protecting that investment with a premium, thermally stable PSU is basic insurance.
#10 — Community Reputation and Reviews
No specification sheet replaces real-world experience. The retro gaming community on forums like AtariAge, NintendoAge, and Reddit's r/retrogaming has collectively stress-tested dozens of replacement PSU options across thousands of hours. Before purchasing, search your specific console model + "power supply replacement" to find firsthand reports of compatibility, longevity, and any known failure modes.
Bonus: While you're browsing community recommendations, consider testing your reaction-time skills with a Retro Gaming Card Game during loading screens — a beloved community staple at retro gaming meetups.
Quick Reference: Voltage Specs for Common Vintage Consoles
| Console | Voltage | Current | Polarity | |---|---|---|---| | NES | 9V DC | 1.3A | Center Positive | | SNES (NA) | 10V DC | 850mA | Center Positive | | Sega Genesis Mk1 | 9V DC | 1.2A | Center Positive | | Atari 2600 (heavy) | 9V AC | 500mA | N/A (AC) | | Game Boy (original) | 6V DC | 300mA | Center Positive | | TurboGrafx-16 | 9V DC | 1A | Center Positive |
Always verify against your specific regional hardware variant.
Conclusion: Don't Gamble With Your Collection
Your vintage consoles survived decades — the last thing they deserve is to be taken down by a $6 unregulated power brick from an unknown seller. By working through these 10 ranked factors — voltage first, community reputation last — you give yourself a systematic framework that protects hardware, eliminates guesswork, and makes every gaming session worry-free.
Ready to complete your retro setup the right way? Start by verifying your console's specs, then pair your safe power solution with a Portable CRT-Style Retro Monitor for the ultimate authentic experience. Your collection deserves nothing less.