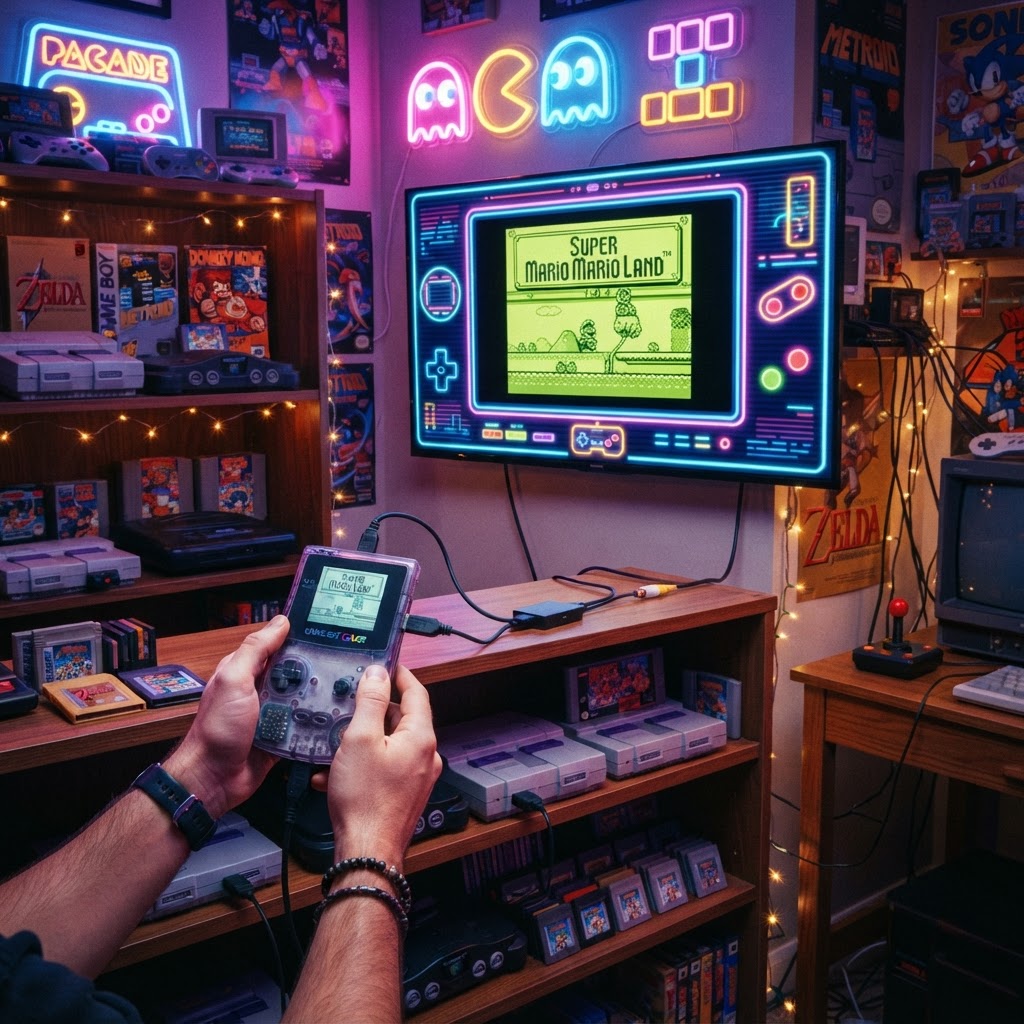
How to Connect a Game Boy to a Modern TV (Complete Setup Guide for Your Retro Gaming Room)
Whether you're building the ultimate retro gaming sanctuary or just want to relive your childhood on the big screen, connecting a Game Boy to a modern TV is one of the most rewarding upgrades you can make to your setup.
Why Your Retro Gaming Room Needs a Big-Screen Game Boy Setup
Imagine settling into your dedicated gaming space, surrounded by cartridges, neon lighting, and the warm hum of classic hardware — and then firing up Pokémon Red or The Legend of Zelda: Link's Awakening on a 50-inch display. That's the vision. That's the room.
Building a retro gaming room isn't just about nostalgia. It's about crafting an experience — one where every detail, from the seating to the screen, tells a story. Connecting your Game Boy to a modern TV is one of the centrepiece moves of that build. The problem? Nintendo never officially made it easy. The original Game Boy, Game Boy Color, and Game Boy Advance each have different connectivity quirks, and modern TVs don't speak their native language. But with the right adapters and a little know-how, you can absolutely make it happen.
This guide walks you through every method, every model, and every piece of gear you'll need — so your retro room is ready for its close-up.
Understanding the Different Game Boy Models
Before you buy a single cable, you need to know which Game Boy you're working with, because the connection method differs by generation.
Original Game Boy & Game Boy Pocket
These models use a proprietary link cable port — no standard video output exists natively. Connecting them to a TV requires a third-party solution or modification.
Game Boy Color
Similar situation to the original. The GBC has a link port but no built-in video-out. Mods and adapters are your friends here.
Game Boy Advance & Game Boy Advance SP
The GBA introduced a multi-boot/link port and the SP added a slightly different connector shape. Neither has native TV output, but several adapter solutions work well.
Game Boy Player (GameCube Accessory)
Technically the official Nintendo answer — the Game Boy Player attaches to the bottom of a GameCube and lets you play GBA, GBC, and even original GB cartridges on your TV via the GameCube's AV output. If you have a GameCube, this is the cleanest, most authentic route.
Method 1: Use a Retro Console HDMI Converter (The Modern Solution)
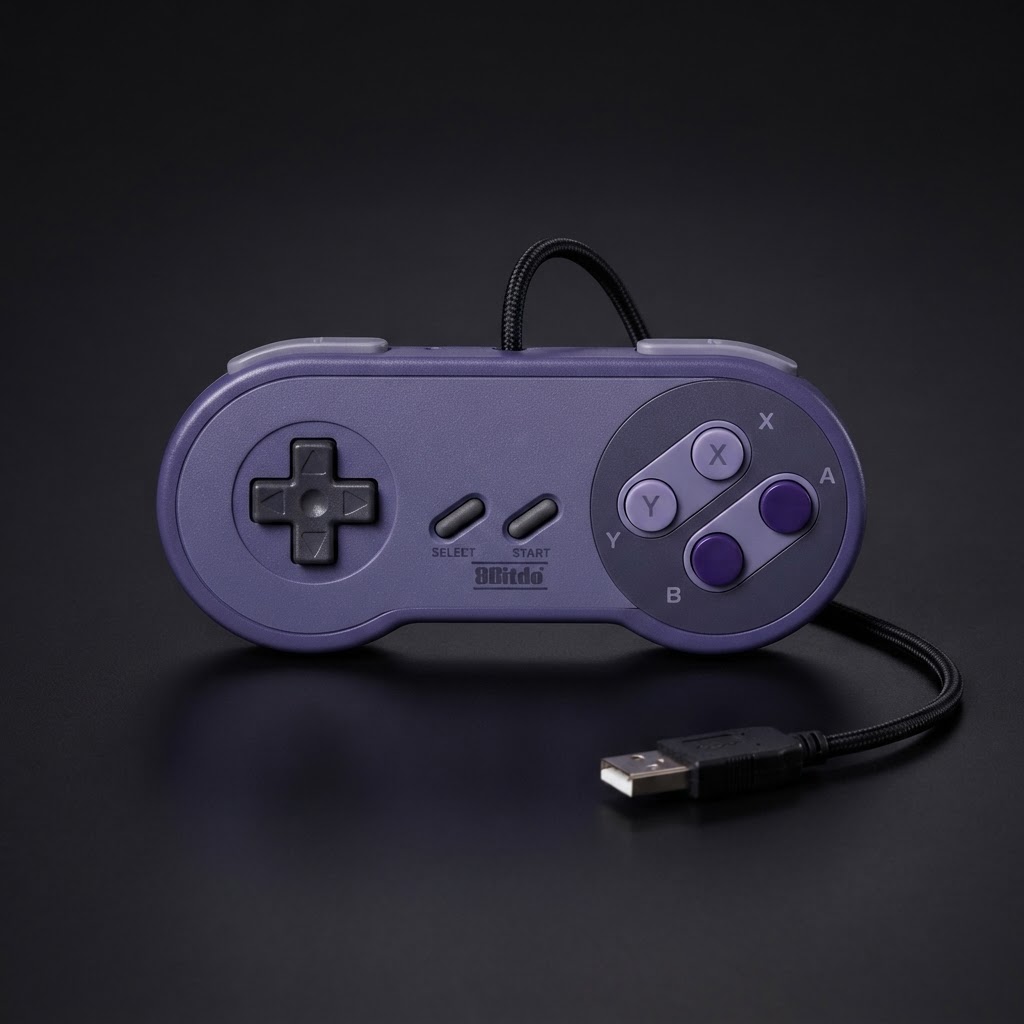
For most retro room builders, the fastest and most practical route is a dedicated adapter. A quality Retro Console HDMI Converter can take the analogue signal from older hardware and upscale it to HDMI — compatible with virtually every modern flat-screen TV.
How it works for Game Boy setups:
- If you're routing through a GameCube + Game Boy Player, the GameCube outputs composite or S-Video, which the HDMI converter then translates for your modern TV.
- For standalone GBA setups, some third-party GBA-to-TV adapters output a composite signal that feeds directly into the converter.
- Plug the HDMI output into any available port on your TV, switch inputs, and you're live.
Pro tip for your retro room: Label your HDMI inputs with retro console names using small cable tags. When you've got a GameCube, SNES, Genesis, and a Pi-powered emulator all plugged in simultaneously, organization is everything.
Method 2: The Game Boy Player + GameCube Combo
This is the gold standard for authentic, lag-free Game Boy gameplay on a TV. Here's the full setup process:
- Attach the Game Boy Player to the underside expansion port of any Nintendo GameCube.
- Insert the Game Boy Player Start-Up Disc into the GameCube's disc drive.
- Connect the GameCube to your TV via AV cables or a Retro Console HDMI Converter.
- Insert your GBA, GBC, or original GB cartridge into the Game Boy Player slot.
- Use a standard GameCube controller to navigate and play.
The Game Boy Player supports the full library — original Game Boy, Game Boy Color, and Game Boy Advance games all work. The image is crisp, the input lag is minimal, and it looks absolutely stunning on a large display.
Cartridge tip: Keep your collection organized and within arm's reach with a Multi-Game Cartridge Storage Case. For a retro room, a well-displayed cartridge collection is as much about aesthetics as it is about access.
Method 3: Third-Party GBA Video Adapters
Several third-party manufacturers have produced dedicated GBA-to-TV adapters over the years. These typically plug into the GBA's link/multi-boot port and output a composite video signal. Quality varies significantly, and some introduce minor input lag — but for casual play in a retro room setting, they're perfectly acceptable.
If your Game Boy library spans multiple regions or generations, pairing one of these adapters with a Universal Game Cartridge Adapter lets you play imported titles too — a massive bonus if you're a serious collector.
Method 4: CRT vs. Modern Flat Screen — Which Is Right for Your Retro Room?
Here's a question that divides retro gaming communities worldwide: should you use a modern flat-screen or a CRT?
For a retro gaming room, there's an argument for both:
- Modern flat-screen + HDMI converter: Clean, scalable, easy to set up, and works with everything else in your room. Great for a multi-console setup.
- CRT or CRT-style display: The scanlines, the phosphor glow, the slight blur — it's authentic. Game Boy games were literally designed with CRT displays in mind. A Portable CRT-Style Retro Monitor gives you that vintage aesthetic without hunting down a 30-year-old television. It's a genuinely excellent centrepiece for a dedicated retro setup — compact, stylish, and conversation-starting.
For a purpose-built retro gaming room, consider running both: a large modern TV for the main gaming area, and a CRT-style monitor on a side shelf for the pure, unfiltered experience.
Building the Full Retro Gaming Room Around Your Setup
Connecting the Game Boy to your TV is just the beginning. A truly immersive retro gaming room is a total sensory experience.
Seating That Commits to the Vibe
You're going to be spending hours in this room. A proper Retro Gaming Recliner Chair isn't a luxury — it's essential gear. Look for something with built-in armrests, lumbar support, and ideally a design that nods to classic gaming aesthetics. Your back will thank you during a six-hour Metroid II session.
Decor, Games & Extras
Round out the space with elements that make it feel like a shrine to gaming history. A Vintage Arcade Pinball Machine in the corner transforms a gaming room into a gaming destination. On the coffee table, a Board Game Based on Classic Video Games keeps the fun going when screens are off.
And no retro gaming room is complete without the right fuel. A Retro Gaming Mug for your morning coffee or evening hot chocolate is a small touch that nails the aesthetic perfectly.
Frequently Asked Questions
Can you connect a Game Boy to a TV without a GameCube? Yes — using a third-party composite adapter for the GBA or a dedicated HDMI converter solution. The GameCube + Game Boy Player combo is the cleanest native method, but alternatives exist.
Does the original Game Boy have video output? Not natively. You'll need a hardware modification or a capture-card-based workaround to get original GB video on a TV screen.
Is there input lag with HDMI converters? Most quality HDMI converters introduce minimal lag (under 1 frame), which is imperceptible during standard gameplay. For rhythm or precision games, opt for a higher-end scaler.
Conclusion: Build the Room Your Inner Child Always Wanted
Connecting a Game Boy to a modern TV is more than a technical exercise — it's the foundation of a retro gaming room that genuinely delivers on its promise. Whether you go the GameCube + Game Boy Player route or opt for a third-party adapter paired with a Retro Console HDMI Converter, the result is the same: those tiny, beloved Game Boy screens finally get the big-screen treatment they deserve.
Now go build that room. You've earned it.