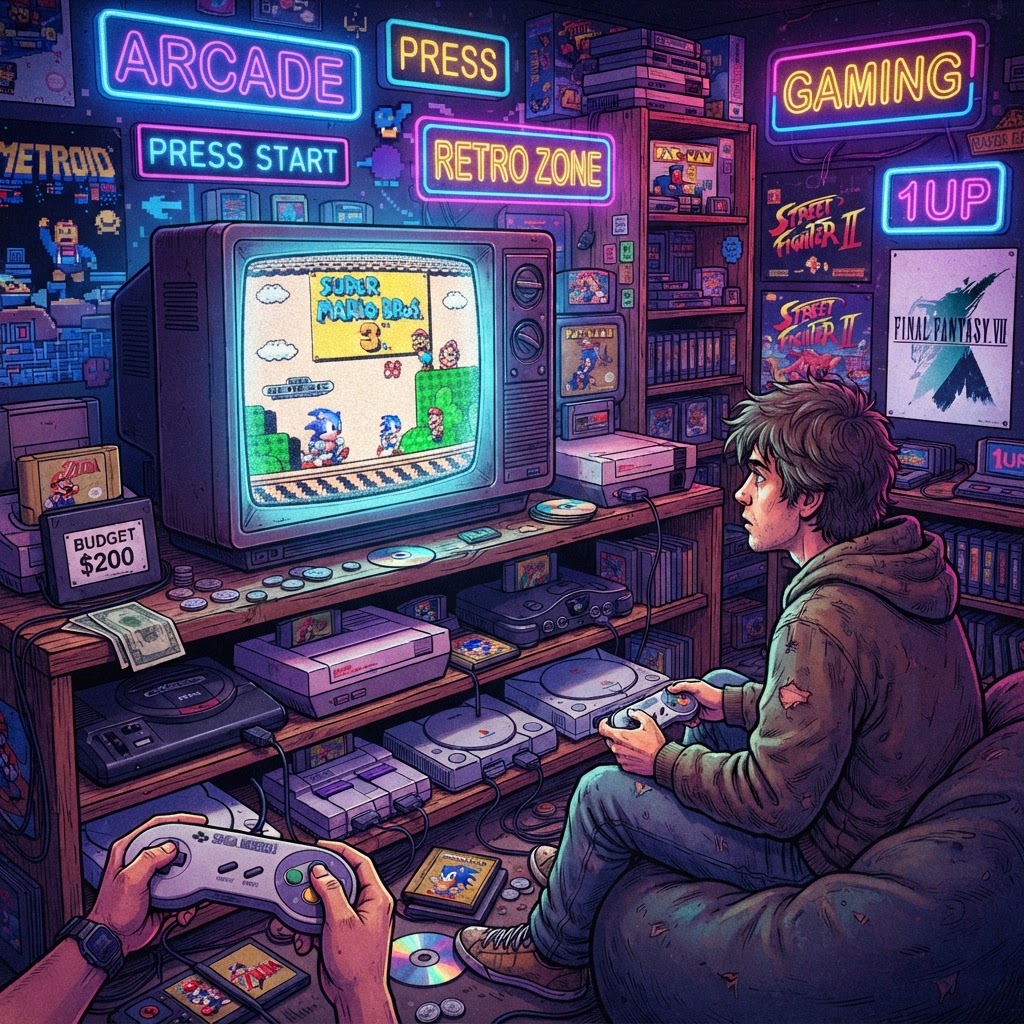
Best Budget Retro Gaming Setup Under $200: The Enthusiast's Guide to Building a Premium Collection on a Shoestring
Think you need to spend a fortune to build a retro gaming setup that looks and plays like a serious collector's shrine? Think again — with the right strategy and gear, $200 can take you surprisingly far.
Why Budget Retro Gaming Doesn't Mean Cheap Retro Gaming
There's a persistent myth in retro gaming circles: that premium, enthusiast-grade setups are exclusively for collectors with deep pockets. The truth is far more interesting. The golden era of retro gaming produced hardware so robust and affordable today that a $200 budget — spent intelligently — can yield a setup that rivals collections assembled over decades and thousands of dollars.
This guide isn't about cutting corners. It's about cutting waste. We're going to walk you through exactly how to allocate every dollar for maximum authenticity, playability, and visual impact. Whether you're a seasoned collector trimming a secondary setup or a new enthusiast building your first shrine to 8-bit and 16-bit glory, this is the roadmap you've been looking for.
The Four Pillars of a Serious Budget Retro Setup
Before we dive into specific gear, understand the framework. Every great retro gaming setup — regardless of budget — rests on four pillars:
- The Play Experience — How the games actually look and feel
- The Display & Presentation — How your collection is shown off
- The Organization — How clean and functional your space is
- The Portability Factor — Gaming on the go without compromise
Budget wisely across all four and you'll have a setup that earns genuine respect from even the most hardcore collectors.
Pillar 1: The Play Experience — Getting Authentic Retro Gameplay Right
Emulation vs. Original Hardware: Know the Trade-Offs
Under $200, you have two meaningful paths: original hardware (often sourced from thrift stores, garage sales, or eBay) or modern emulation handhelds. For the serious enthusiast on a budget, the smartest move is often both.
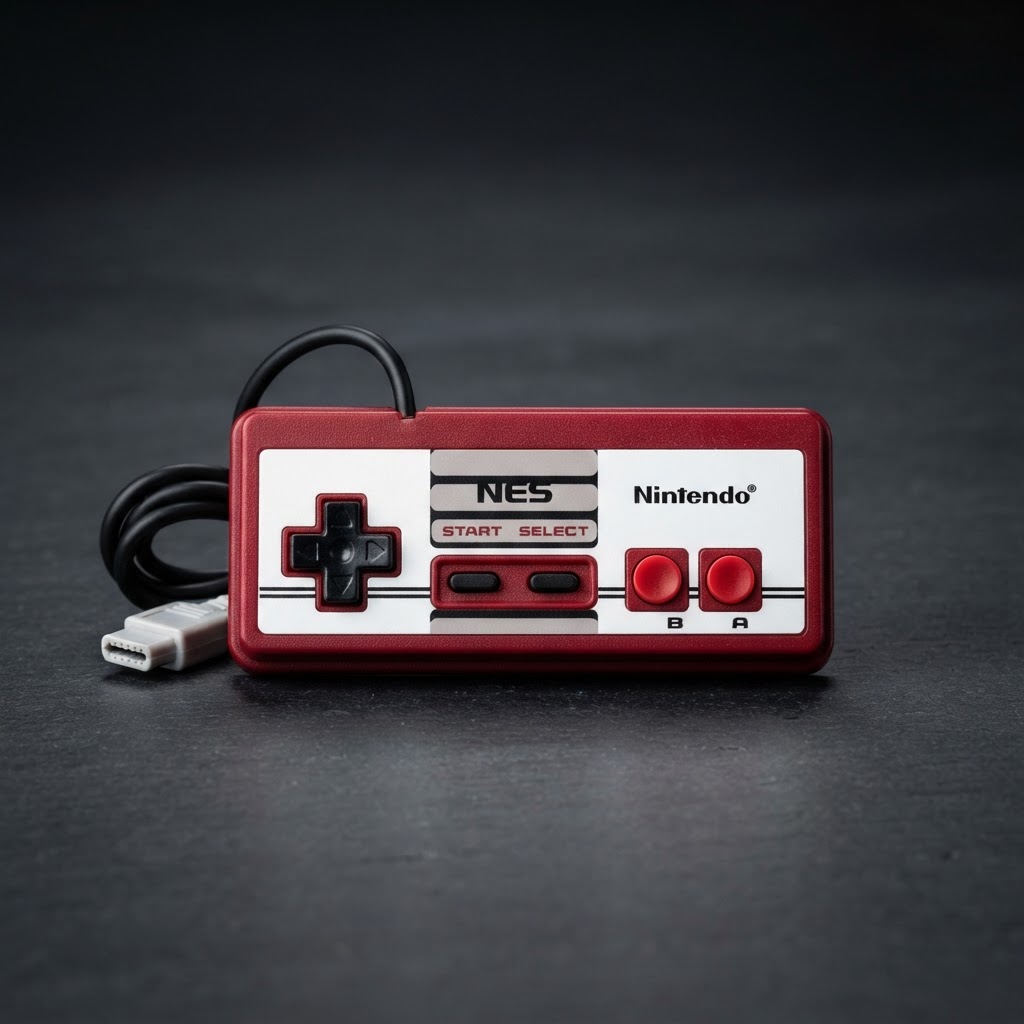
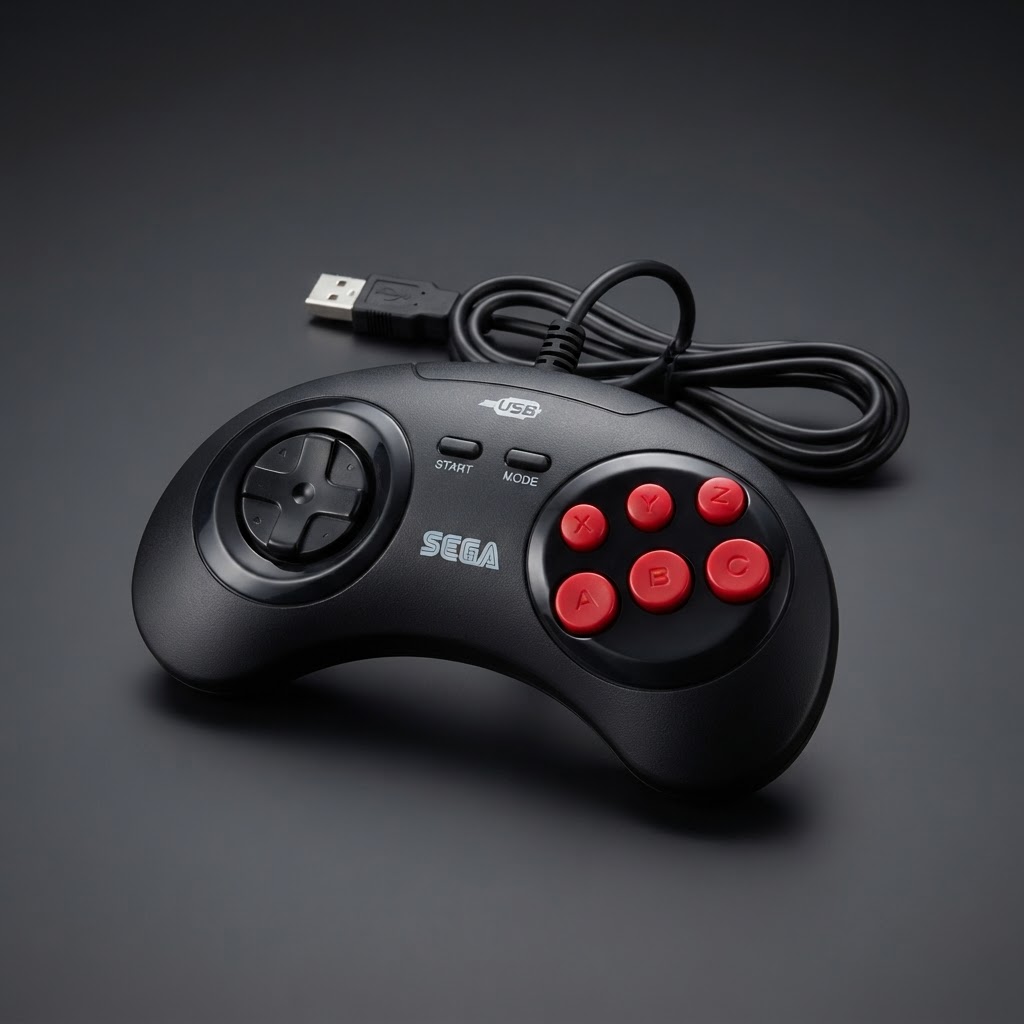
Original consoles from the NES, SNES, Genesis, and PS1 era regularly surface for $10–$40 each at garage sales and flea markets. A functional SNES, for example, can often be found for under $30. That leaves meaningful room in your budget for the accessories that elevate the experience.
The Modern Emulation Powerhouse You Shouldn't Ignore
Here's where budget setups have genuinely leveled up in recent years. Today's dedicated emulation handhelds support hundreds of systems — from Atari 2600 through PlayStation — with surprisingly faithful emulation. A quality Handheld Retro Gaming Console in the $40–$70 range can serve as your entire portable retro library, freeing up budget for display, organization, and presentation elsewhere in your setup.
Look for units with IPS screens, at least 3,000mAh battery capacity, and support for CPS1/CPS2 arcade ROMs if you're serious about the full retro experience. The Anbernic and Miyoo lines are particularly respected in enthusiast communities for build quality that punches well above their price point.
Solving the Video Output Problem
This is where many budget setups stumble. Original retro consoles output via composite or component video — not HDMI — and connecting them to a modern TV without proper conversion produces a blurry, washed-out mess that no serious collector would tolerate.
The fix is simple and relatively affordable: a quality Component to HDMI Converter dramatically improves picture quality when running original hardware on modern displays. These converters preserve more of the original signal than composite-to-HDMI adapters and are considered an essential upgrade by enthusiasts who want their original consoles to look genuinely sharp. Budget roughly $20–$35 for a solid unit, and your SNES or N64 will look substantially better than it ever did on an old CRT.
Pillar 2: Display & Presentation — Show Your Collection Like a Collector
Why Display Cases Are Non-Negotiable for Serious Enthusiasts
A retro gaming setup without thoughtful display isn't a collection — it's a pile. Serious collectors understand that presentation is half the experience, both for personal enjoyment and for the respect of guests and fellow enthusiasts.
For your cartridge library, a Limited Edition Game Cartridge Display Case provides wall-mountable or shelf-mounted storage that keeps your games visible, organized, and protected simultaneously. These cases transform loose cartridges into a visual statement that communicates intent and seriousness.
For your hardware, invest in a Retro Console Glass Display Case. Glass display cases serve double duty: they protect original hardware from dust accumulation (the silent killer of vintage electronics) while putting your consoles on proud display. Even a single console displayed properly — lit, clean, and behind glass — communicates the same passion as an entire room full of carelessly stacked hardware.
Budget tip: Allocate roughly $30–$50 of your $200 toward display cases. It's among the highest-ROI investments in the aesthetic quality of your setup.
Pillar 3: Organization — The Mark of a True Enthusiast
Clean Cables, Clean Mind, Clean Setup
Nothing undermines a premium retro setup faster than cable chaos. The collector who has three consoles hooked up behind a rat's nest of wires has defeated their own presentation goals entirely.
A quality Cable Organizer Box is the unglamorous secret weapon of every well-photographed gaming setup you've admired on Reddit or Instagram. These boxes conceal power strips, cable runs, and adapter clusters behind a clean exterior, often for under $20. It's the kind of purchase that makes every other element of your setup look better by association.
Controller Charging and Storage
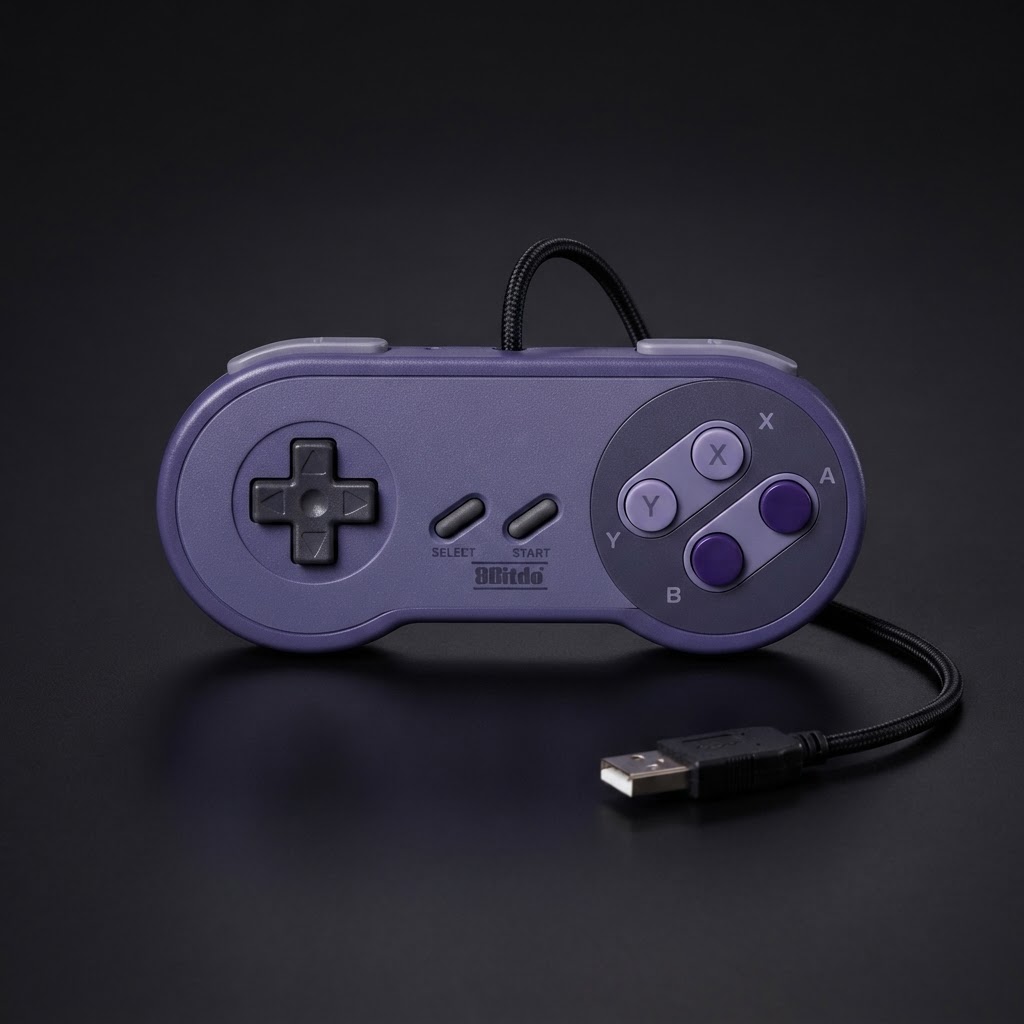
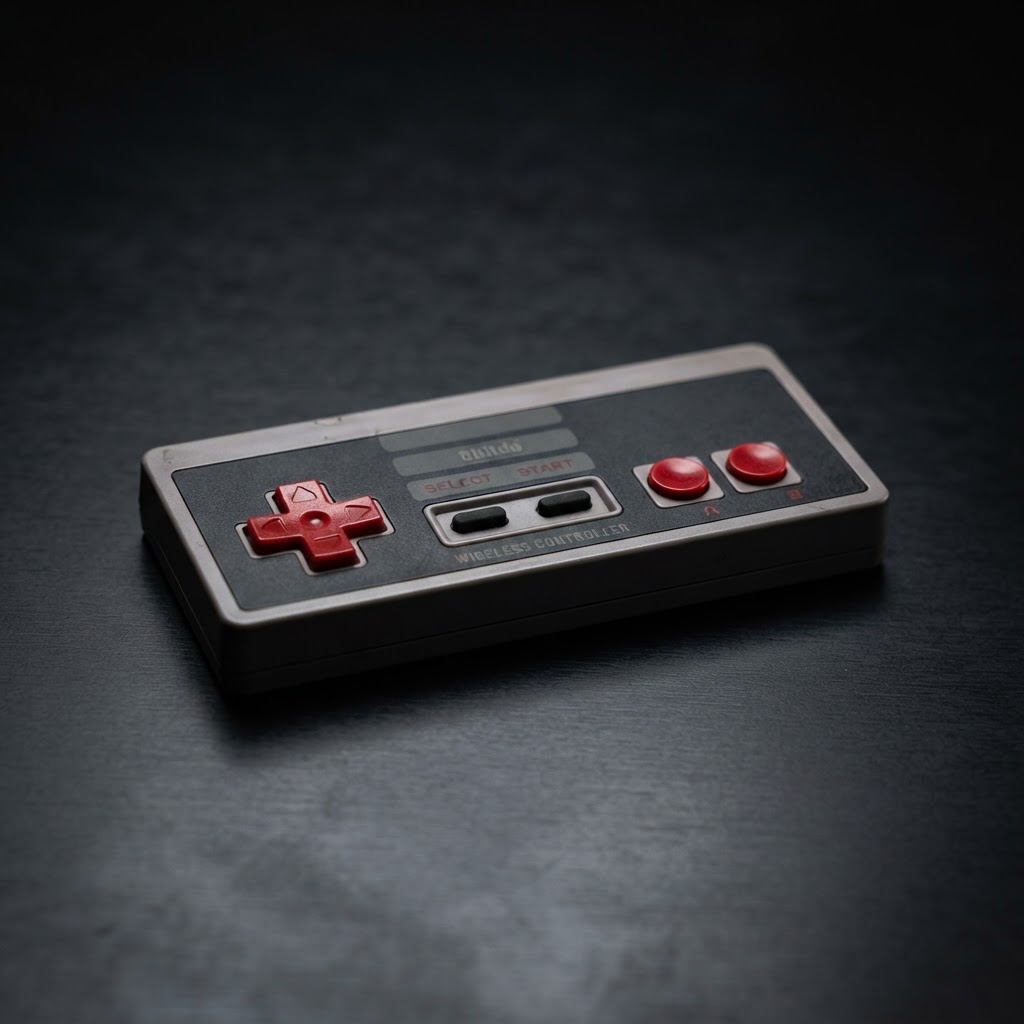
Original controllers are irreplaceable, but modern rechargeable alternatives for classics like the SNES or Genesis have become genuinely excellent. If you're incorporating any wireless or rechargeable controllers into your setup, a Dual Controller Charging Dock keeps controllers charged, stored, and displayed neatly — not tangled in a drawer or tossed on a shelf.
Pillar 4: The Collector's Finishing Touches
Restore and Personalize Your Cartridge Library
This is where serious collectors distinguish themselves even on a budget. Many vintage cartridges have faded, worn, or damaged labels that undermine the visual quality of a display. Replacement Game Cartridge Labels & Stickers are widely available and allow collectors to restore cartridges to near-mint presentation quality. For a budget enthusiast building a display-worthy collection from thrift store finds, label restoration is a game-changing technique that transforms a $2 cart into a display-worthy piece.
Sample $200 Budget Breakdown
| Category | Allocation | Notes | |---|---|---| | Original Hardware (1-2 consoles) | $30–$50 | Garage sales, thrift stores | | Handheld Emulation Console | $40–$60 | Quality IPS handheld unit | | Component to HDMI Converter | $20–$30 | Essential for sharp picture on modern TVs | | Retro Console Glass Display Case | $20–$35 | Dust protection + presentation | | Game Cartridge Display Case | $15–$25 | Wall or shelf-mounted | | Cable Organizer Box | $10–$20 | Setup cleanliness | | Cartridge Labels | $5–$10 | Cart restoration | | Dual Controller Charging Dock | $10–$20 | Controller storage |
Conclusion: $200 Can Build Something Worth Being Proud Of
The difference between a budget retro setup and a serious retro setup isn't always money — it's intention, organization, and the right gear in the right places. By allocating your $200 across all four pillars and prioritizing presentation alongside playability, you can build something that looks and feels enthusiast-grade from day one.
Start today: pick up a quality Handheld Retro Gaming Console as your foundation piece, and build outward from there. Your $200 budget is more powerful than you think.