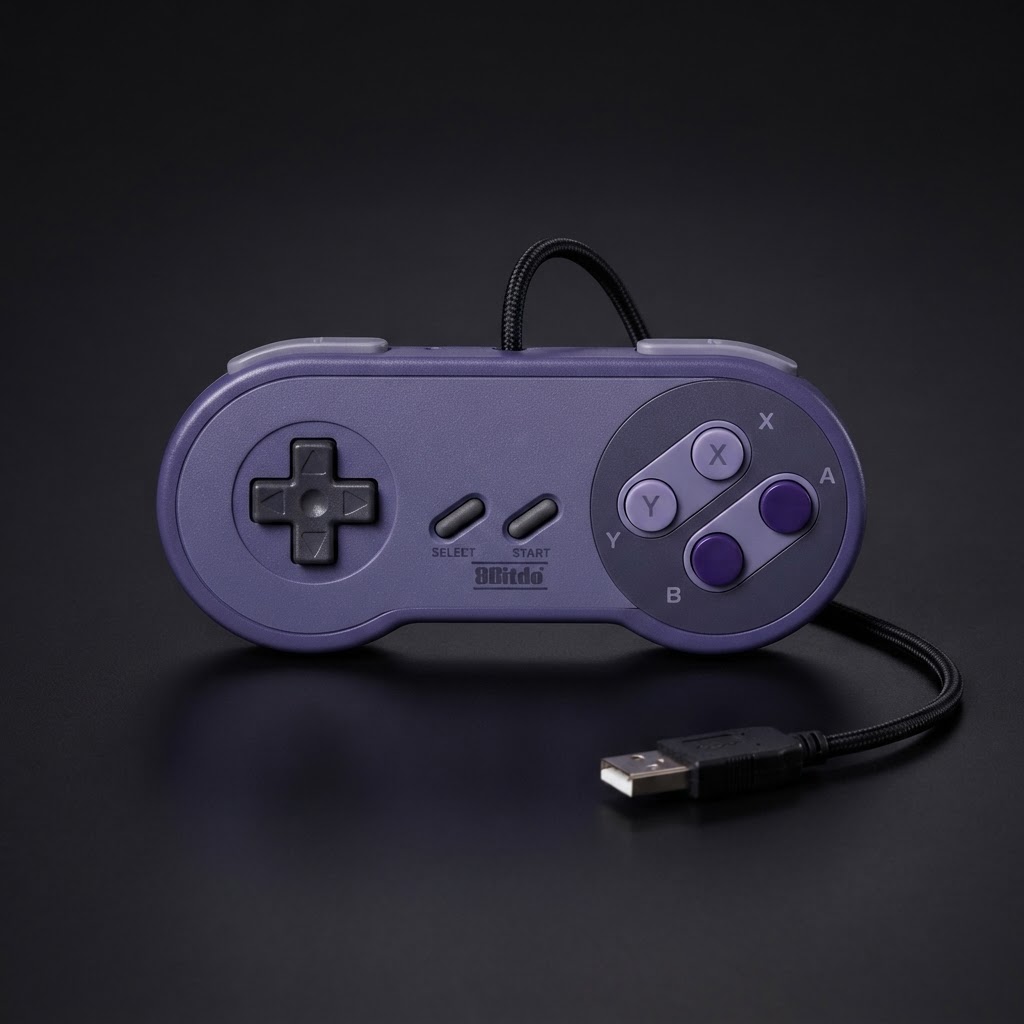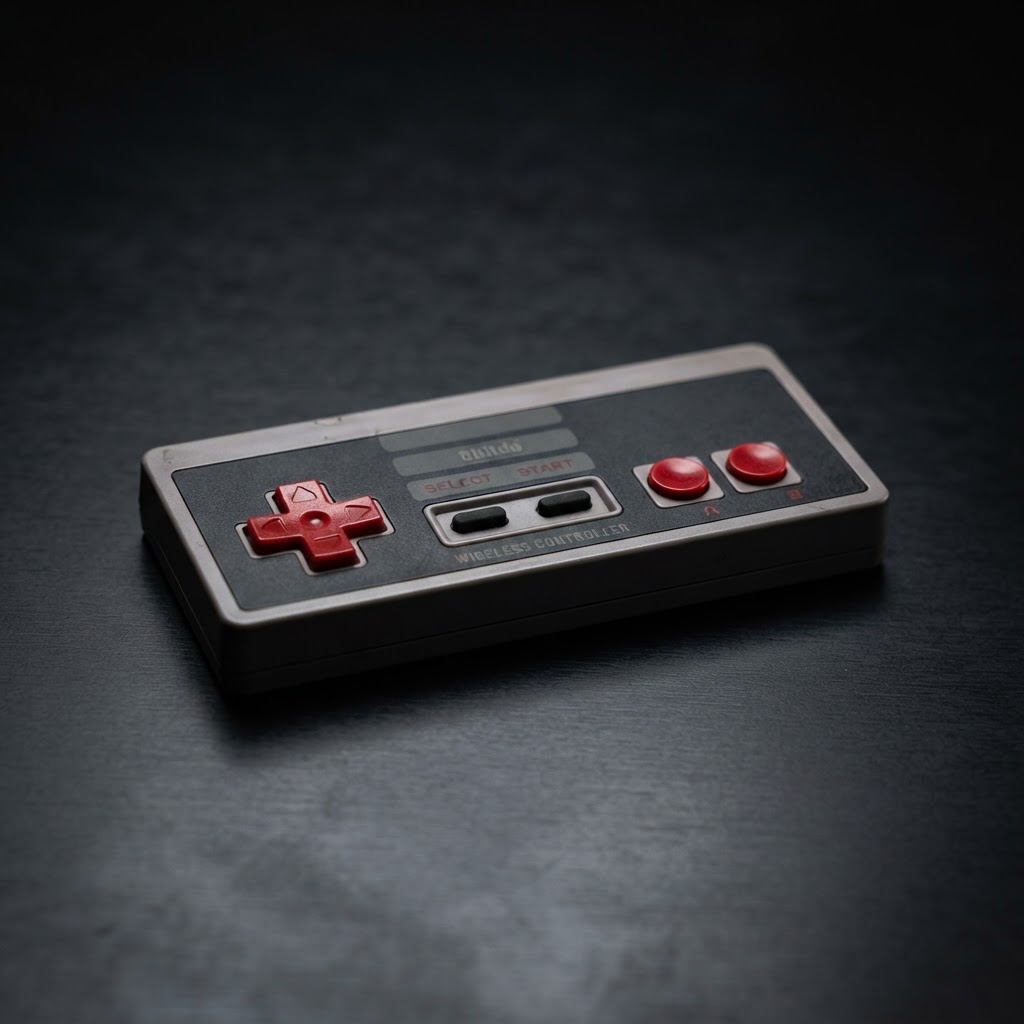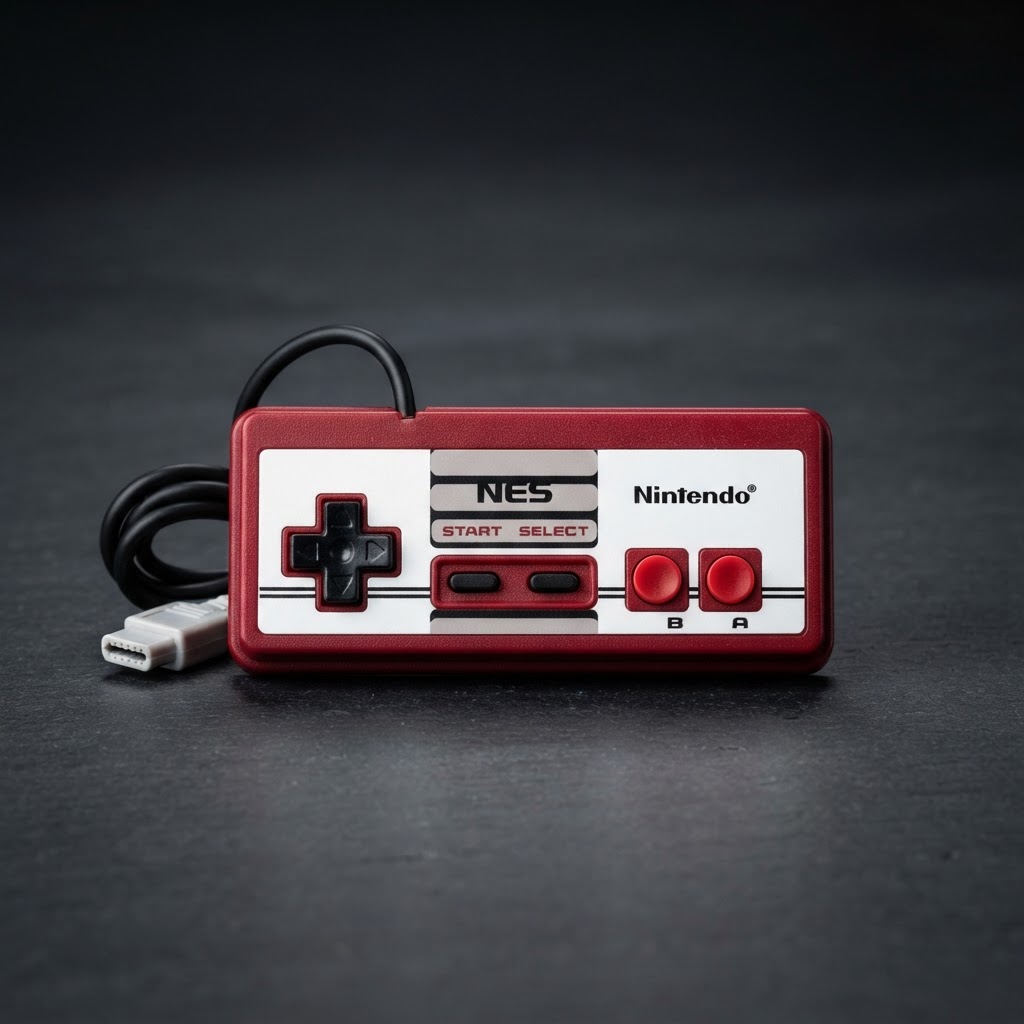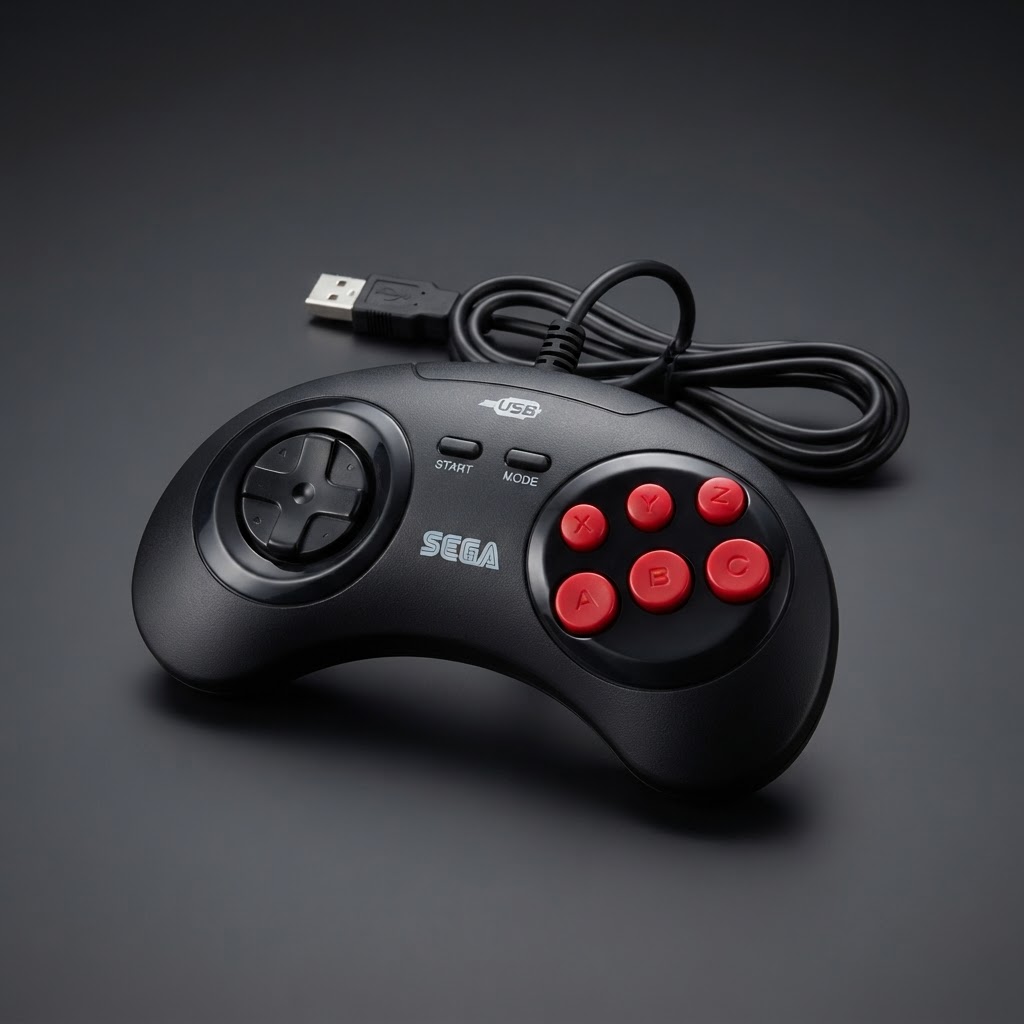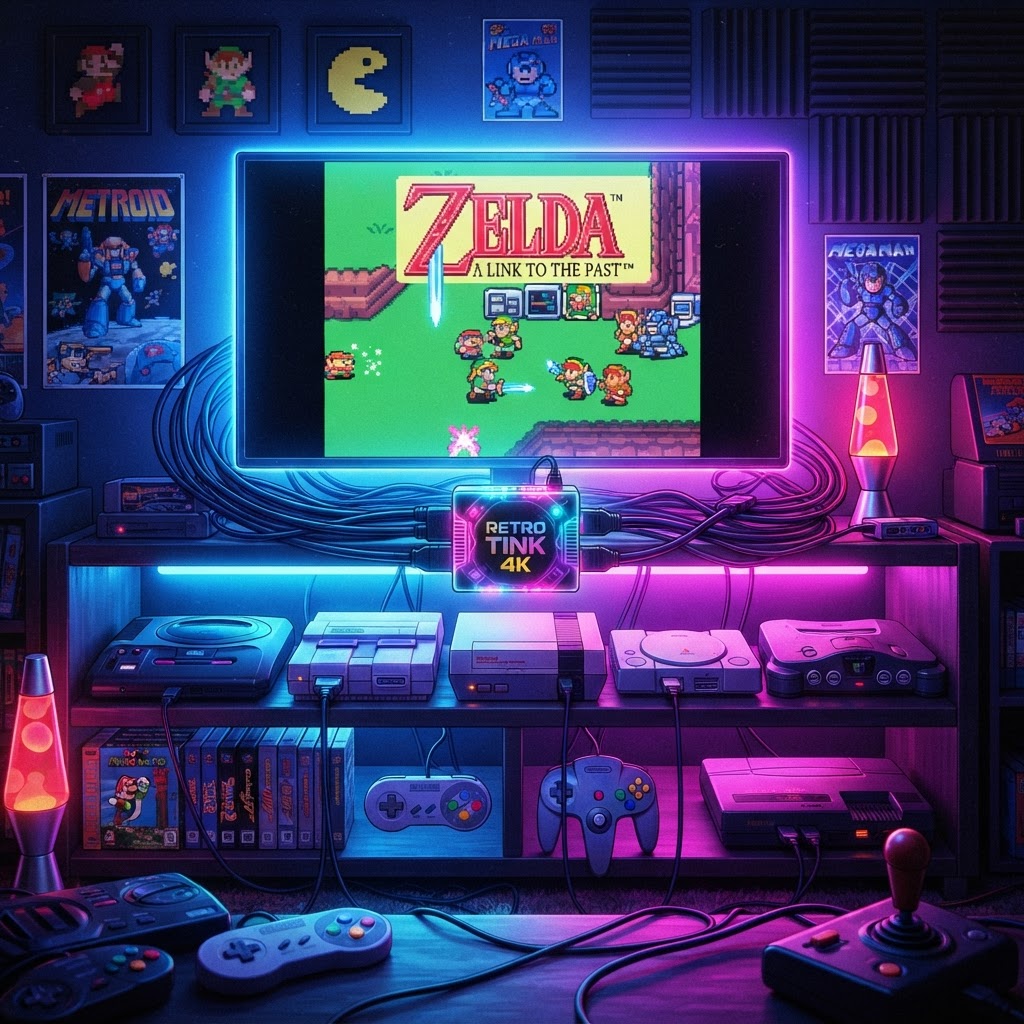
If you've spent years hunting down mint-condition cartridges, tracking down original hardware, and curating a collection that would make any retrogamer weep with envy, the last thing you want is to plug your Super Nintendo into a 4K OLED and watch your childhood memories dissolve into a smeared, input-lagged mess. Modern 4K TVs were not designed with retro consoles in mind, and the gap between analog-era output signals and today's digital display technology is genuinely significant.
But here's the thing: with the right equipment, connecting classic consoles to a 4K TV doesn't just become possible — it becomes extraordinary. Upscaled pixel-perfect art. Near-zero input lag. Display options you'd never have dreamed of in 1993. This guide is written for the enthusiast who isn't satisfied with a cheap composite-to-HDMI dongle from a bargain bin. We're talking premium solutions, purpose-built hardware, and a setup that honors both your collection and your 4K display.
Why 4K TVs Are Problematic for Classic Consoles
Before diving into solutions, it's worth understanding the problem. Classic consoles — NES, SNES, Sega Genesis, N64, PlayStation 1 and 2, Dreamcast — output video in analog formats: composite, S-Video, RGB SCART, or component. Your 4K TV speaks an entirely different language: it wants 4K HDMI signals, and it handles legacy inputs badly.
The three core problems are:
- Signal incompatibility: Most 4K TVs have dropped composite and component inputs entirely.
- Input lag from internal upscaling: A 4K TV's onboard scaler introduces 30ms–150ms of lag as it converts old signals, making games feel unresponsive.
- Poor image processing: TVs optimize for film and broadcast content, not 240p pixel-art, resulting in soft, smeared visuals.
The enthusiast solution is to take control of the entire signal chain before it reaches your TV.
Step 1: Get Your Signal Out Right — Analog Output Matters
The quality of your source signal determines everything downstream. If you're feeding your SNES via composite (the yellow RCA cable), you're starting from the worst possible position.
Upgrade Your Console's Output
RGB SCART is the gold standard for most classic consoles. The SNES, Genesis, PS1, Saturn, and Dreamcast all output RGB signals natively, which captures all the color information the original hardware was designed to produce. Invest in quality RGB SCART cables from reputable suppliers — the difference over composite is immediately visible.
For the Nintendo 64, component cables (if you can find them) or an RGB modification kit will give you the best source quality. For systems that only output composite natively (like unmodded NES), S-Video is your next best option.
Step 2: The Heart of the Setup — A Premium HDMI Upscaler
This is where serious collectors invest their money. A dedicated external upscaler/line doubler takes your clean analog signal and converts it to HDMI with minimal processing lag, proper scanline options, and pixel-perfect scaling — all before your 4K TV even sees the image.
The RetroTINK Line
The RetroTINK 5X Pro and RetroTINK 4K are widely considered the pinnacle of consumer retro upscaling technology. The RetroTINK 4K, in particular, can output a true 4K signal with frame-locked processing, meaning your TV receives a native 4K image and simply displays it without any additional upscaling lag. It supports virtually every analog input standard, includes scanline emulation profiles, and has a devoted community of users constantly refining output profiles for specific consoles.
Key specs to look for in any premium upscaler:
- Sub-1ms processing latency
- 4K/60 HDMI output
- Support for 240p, 480i, and 480p source signals
- Customizable scanline and mask filters
The OSSC Pro
The Open Source Scan Converter Pro remains a beloved option for enthusiasts who want granular control. It line-doubles or multiplies your signal rather than deinterlacing it, which means the processing is extremely fast and the image retains a sharp, authentic character that many collectors prefer.
Step 3: Capture Your Gameplay at Full Quality
For collectors who also stream, make YouTube content, or simply want digital archives of their gameplay, integrating a Professional Capture Card for Retro Consoles into your setup is essential. The key is placing the capture card after your upscaler in the signal chain — you capture the already-processed HDMI signal, meaning your recordings look exactly as clean and sharp as what you see on screen. A professional-grade card will handle 4K passthrough without adding lag to your display, making it a seamless addition to any high-end retro setup.
Step 4: Consider a 4K Projector as Your Display
Here's an option that most guides never mention: for the ultimate cinematic retro experience, replacing your TV with a 4K Retro Gaming Projector is genuinely transformative. A short-throw 4K projector with a low-latency game mode and high brightness (3,000+ lumens recommended) can display your upscaled retro content on a 100"+ screen with pixel-perfect clarity. Imagine playing Super Metroid on a wall-sized canvas with authentic scanlines. For the dedicated collector with a dedicated game room, this is the pinnacle of the retro gaming experience.
Step 5: Build a Setup Worthy of Your Collection
Your hardware deserves a display environment that matches its quality. A well-curated retro gaming space isn't just about the signal chain.
Protect and Showcase Your Gear
Keep your consoles pristine with a Retro Console Dust Cover Set — dust is a silent killer of cartridge connectors and ventilation slots. Speaking of which, keep a bottle of Isopropyl Alcohol Contact Cleaner on hand for regular maintenance of cartridge pins, controller ports, and PCB contacts. Clean contacts are the difference between a console that boots first time and one that needs thirty cartridge wiggles.
Elevate the Aesthetics
For collectors who take their setup's visual presentation seriously, an RGB Retro Gaming Desk Setup Bundle pulls together ambient lighting, cable management, and display accessories into a cohesive look that does justice to your hardware collection. When everything is lit properly and organized intentionally, your setup becomes a showpiece — not just a gaming station.
Quick Reference: The Premium Signal Chain
Here's the complete enthusiast-grade signal path at a glance:
- Console → RGB SCART or component cable (highest quality analog output)
- Upscaler (RetroTINK 4K or OSSC Pro) → HDMI out
- Splitter (optional) → one signal to TV/projector, one to capture card
- Professional Capture Card → recording/streaming PC
- 4K TV or 4K Retro Gaming Projector → enable Game Mode to minimize TV-side processing
Conclusion: Your Collection Deserves the Best
Connecting classic consoles to a 4K TV the right way is an investment — in hardware, in knowledge, and in the experience your collection deserves. A premium upscaler like the RetroTINK 4K transforms your vintage library into something that looks stunning on modern displays, while purpose-built accessories protect and showcase the physical hardware you've worked so hard to acquire.
Don't let decades of gaming history be undermined by a cheap adapter. Start by upgrading your signal chain and pair it with a Professional Capture Card for Retro Consoles so every legendary run you pull off gets recorded in full quality. Your past-self went through a lot to play these games. Your present-self deserves to see them at their absolute best.